Hi folks,
Trying to keep up the momentum and getting these British infantry platoons while dabbling with some bits and bobs of scenery as well. Currently the static grass is on the infantry bases, so just tidying up and tufts to do.
Today we had a gaming day at The Old Guard club in Northallerton. The plan was to run through a game of Regimental Fire and Fury with the club, prior to us running a game at the Stockton wargames show in November.
This was my second game, with the first being the small run through we had at Dave's a few weeks ago. I've still not properly read through the rule book, so todays game was useful in picking up some of the nuances of the rules.
The game was set up using Dave's terrain and a mix of everyone's figures. More or less all the figures were Pendraken 10mm ACW figures. The scenario was taken from one of the Scenario Books (Book 1?). More info on the historical battle can be found
here.
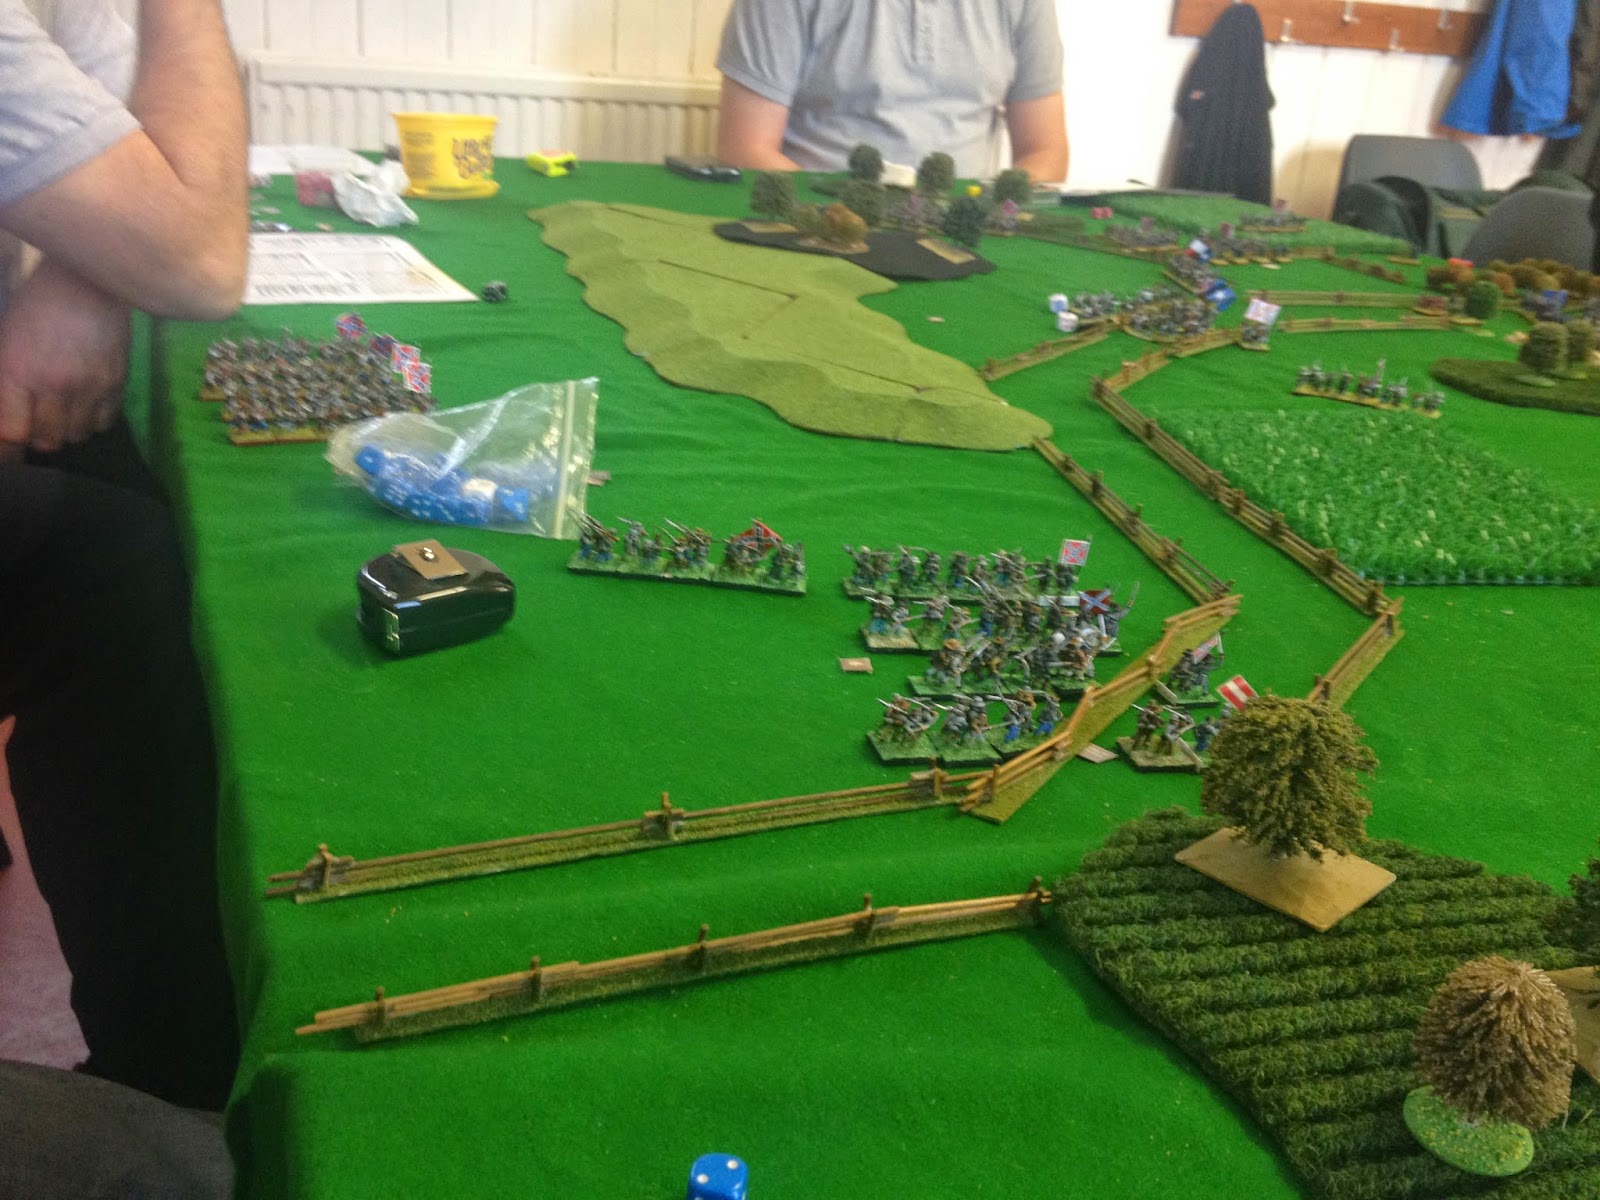
As far as I am aware, the main aim of the battle (the objective) was to inflict damage on the other army, and secure a central location (the corn field). Dave sorted out the units and we deployed as per the scenario. My brigade around the farm buildings on the left of the photo, with Stu in the centre and Martin in the far right corner with some guns and infantry. These three units of my brigade were rated as 'Crack' and we found that the ratings really made a difference. I think due to the quality of the troops and Stu's poor luck with the dice I only lost two or three stands all game.
The Union were really outnumbered in this scenario, and the confederates also had better troops. This was a tough one for Stu and Martin!
Things progressed quickly, with the guys picking up the rules as we went. Reinforcements arrived for both sides, while to my front (on our right flank) the fight was on with Stu's own crack regiment.
 |
| my initial deployment |
 |
| Stu's initial deployment, with Martins forces on the left. |
 |
| Rebel reserves arrive, while Stu prepares to move forward to engage me. |
 |
| I shift a unit forward onto lower ground, preparing to take the woods or present two lines of fire. |
 |
| Martin sorts his column into an extended line on the left while Johns infantry move on on my left. |
 |
| Stu's reserves arrive and move up, while his crack regiment leaves the corn field to cross the fence and occupy the wood in front of me. In Rf&F both sides fire in each turn - as he moved this turn, I shot first and disordered him + caused casualties. This set the tone for the next few turns! |
Stu moved his infantry forward, while his reinforcements moves up. This placed his unit in front of two of mine and four guns (the rear units were on a hill with line of site to various parts of his unit. A deadly fire opened up, which started taking off Stu's stands and putting him in a state of disorder. As I prepared to charge, Stu's troops fell back to find cover behind the fence in the trees! On my right I moved my unit into the farm complex - my crack troops with inferior rifles against one of Stu's trained units with better rifles. Experience was to be the telling factor!
 |
| The firefight rages to my front left, while Johns troops move up. I think Pete's forces had arrived on our left flank as well. My troops move into the farm complex and start trading shots with Stu's advancing trained units. |
 |
| Short range duelling! Stu's unit is vastly reduced by now. |
 |
| Whole table from Martin and Pete's end, turn 4 |
After a quick break for lunch, we got back into it. I moved my smaller unit into the woods to engage Stu's retreating infantry, which resulted in a firefight and a charge from him. I was lucky on my dice roll (and he was unlucky - a theme throughout the first few turns) and beat him back. This was the beginning of a slow 'retrograde' movement by Stu's leftmost units which eventually saw them isolated from their brigade and eventually pushed off with the aid of some reserves. Stu was really really unlucky with his dice through this portion of the game. His low shooting rolls were made worse by the fact my crack troops were harder to hit and damage. I also began assaulting forward to secure the fence line. My guns were battering away at various targets, including a lucky roll against one of Martins batteries which wrecked one gun and silenced the rest - at a crucial time when Pete was about to get hammered by incoming fire on units in march column!
 |
| Stu's infantry in the woods had fallen back and then charged me as I came forward. John in the centre was crossing the corn field while my other units duked it out with Stu's newly arrived units. |
 |
| The close combat in the woods... I rolled high - Stu did not. His troops went back out of close range. |
 |
| John prepares to rush the next fence. |
 |
| More Rebel units arrive. There were to rush up my flank and put more pressure on. My troops began a general advance. |
 |
| long range fire being traded with very little results - concentration of fire is really needed in this game. |
In the centre, John shocked everyone by actually going forward and not shooting at friendly units. He even knew all the words to the songs...
 |
| Pete's troops start moving forward and some to and fro melee starts. Martin now has two batteries on the hill and is supporting Stu in the centre with one. |
 |
| Rebel troops advance across the board - John takes the next fence line but a large union unit with artillery support gets into the corn and starts being a real nuisance. The Georgian brigade of Johns started taking a pounding here. |
 |
| Our advance starts to break up Stu's brigade. |
 |
| Concentration of fire being prepared. My march columns took a risk to get up so quickly and prepare to turn to lines. Stu managed to manoeuvre to avoid some of my fields of fire in his movement before my shooting - another useful lesson. |
A heavy firefight was developing in the centre as John attempted to push Stu from the objective. Some of Johns units took a large amount of punishment here (although I think the fight on the other flank was attributing as well).
 |
| Johns units start to look a little sparse! |
 |
| Pete is right up in the Unions face - despite having some large units, Martins troops were of a lower quality. |
 |
| The end - Stu's troops domino fail morale checks as the army hits a 'greater losses' threshold and the lack of units in command from the brigadier hits home. |
 |
| Concentration of fire in effect! |
 |
| John eventually wins the firefight in the centre, securing the corn field. On the left, Pete has put the union to flight! |
Eventually the tide turned in our favour again. In one turn, Stu's morale dice luck ran out, and unit after unit either fled or fell back. We secured the corn fields while I managed to herd some of Stu's units off the table. I think we were really surprised at how resilient some of the units were - even when reduced to only a few stands. Eventually I realised that to get anywhere I would have to focus fire, and this focus seemed to have made the difference. However, in the centre and on the other flank we had also secured the field - although the butchers bill had been pretty high where the Union artillery had line of sight! If Stu had some guns on his flank or the centre things may have been different.
A good game, I think we all enjoyed it but proper reading of the rules still required!
Otherwise this week, I picked up some bits:
 |
| Large cutting mat (A2) for my painting desk (for £8 from 'The Works' in Stockton) and an interesting sounding book about a possible German commando raid of the Isle of Wight in 1942/43 |
While the 15mm Brits and scenery has progressed:
 |
Timecast garden patches....
|
More next week - I'll have the British infantry finished for now (maybe an MG platoon to do...) so need to think about what else I need for the large game later this year.