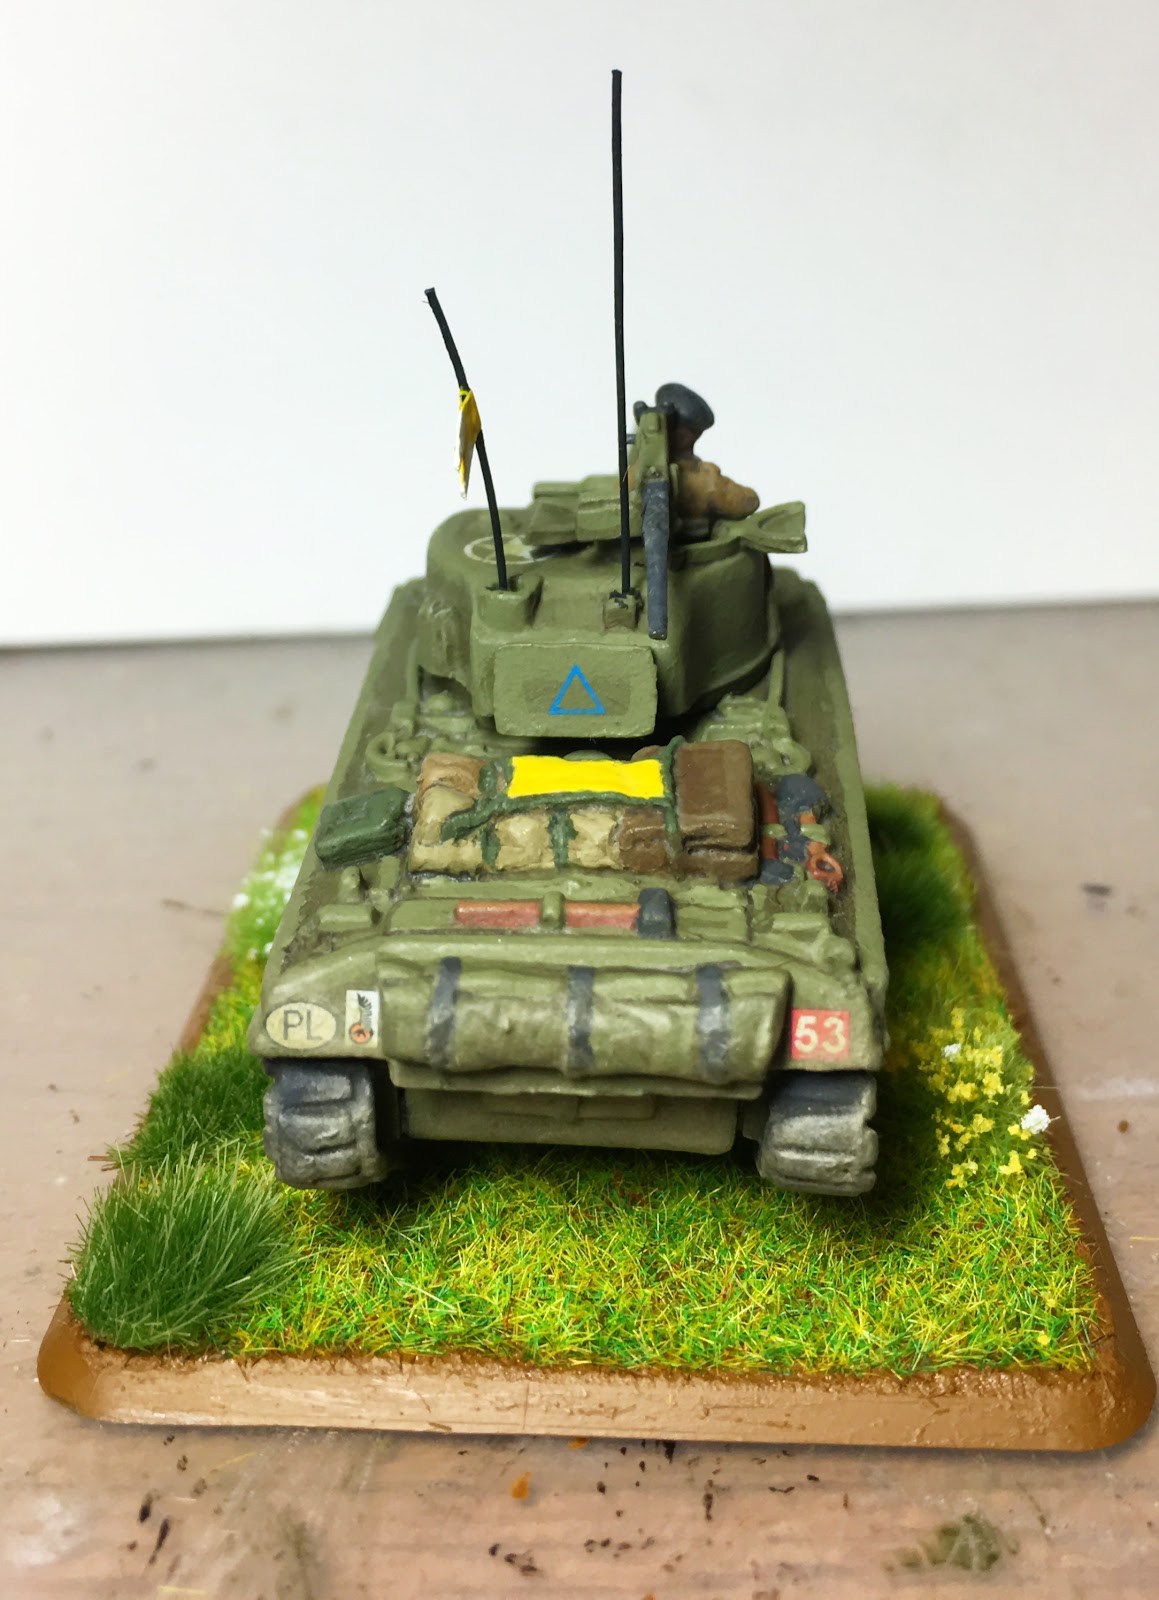
Hi folks,
I posted a little teaser at the end of my last blog article, showing a work in progress shot of my newest acquisition. A
15mm Churchill SBG Conversion kit from S&S Models. This kit was then added to a 15mm Plastic Soldier Company Churchill kit I have had sitting around since the model was announced by Shaun on the S&S Models Facebook page over a year ago!
The perfect kit to form part of my contribution to the
Miniature Modelling Mayhem groups 'Novelty November' challenge!
I thought it might be useful to go through a bit of a step by step of the process I went through up until painting.
First up, what is a Churchill SBG? Well, they look like this:
 |
| Image used without permission for reference purposes - no ownership of the image is claimed. |
And a description from
http://www.thinkdefence.co.uk/2011/12/uk-military-bridging-equipment-assault-bridging/
"Introduced specifically for D Day and the 79
th Armoured Division it was designed to support a Class 40 load over a 30 foot (9 meter) span, or more specifically a 12 foot high sea wall. The bridge itself consisted of 4 Small Box Girder hornbeam sections
connected together to form a twin trackway bridge, connected with
crossbeams." "It was carried by a standard Armoured Vehicle Royal Engineers (AVRE),
not a specialised bridgelayer and thus the carrying vehicle was able to
be used in other engineering roles once the bridge had been detached."
A Class 40 weight would be up to and including a Churchill tank - with the Sherman coming in at class 30 (or 33 for the Firefly). The SBG Churchill was designed by
Royal Engineers Colonel (later Major-General) Millis Rowland Jefferis (KBE MC), who was the same chap who designed the PIAT and 290mm Petard Mortar in the AVsRE tanks. The bridge was designed to be deployed in as little as 30 seconds.
I love this model, and the idea of having one of these in my army just grabbed me as soon as they were announced. This, and it's sister the Fascine tank. So as soon as they were available, I grabbed one of each.
I had a couple of aims with this model - One, it should look cool! Two, that the bridge should be detachable and the tank capable of continuing to be used on it's own after the bridge had been deployed.
So, on with the detail. The kit came in a small bag, well packaged and without any damage from transit. Some clean up was required, but the flash was pretty minimal - there was a small amount of miscasting in the metal parts - but nothing serious. Mainly just 'thin' ends (as can be seen below on the rightmost central bridge connector. My main concern out the box was that the A-frame was very soft and easily bent - I think I had to bend it slightly back into shape when taking it out of the packaging. Again, to be expected on this scale of a model.
 |
| The bits! |
The first step was to build the base hull. As I mentioned, I used a PSC Plastic Churchill sprue and built a Mk.IV Churchill armed with a Petard mortar.
Once the hull was built, I set about adding the AVRE conversion bits.
This involved a small about of work on the hull side, removing some protrusions on each side so that the fittings... fitted. These were standard AVRE fittings that would allow the Churchill's to be easily converted to a number of roles.
 |
| A close up of the work done to remove the side hull details in order to allow the side fittings to be added. |
I also began to attempt to build the rear winch framework. Now, at first I tried to build this separately from the tank. This didn't work, as trying to build a box made from metal parts using superglue is a bit tricky. Eventually I gave up on that and instead decided to start building the box on the hull itself. Which was the sensible thing to have done from the start.
This went a lot more smoothly and I had the frame built in no time at all.
I then built the bridge. This was a little fiddly, but mainly because I was stupidly trying to do the central sections first (the rectangular cross pieces). After applying a little brain power, I glued the end section on each side, then did the central sections once the parts were in the correct shape.
 |
| Do these bits first! |
 |
| The inner frames go inside the bridge itself and attach just below the upper surface. one on each end, closest to the bar which joins the two treadways. |
 |
| Here you can see the central supports are at the top of the gap between the treadways. |
The A-frame then fits into the holes at one end of the bridge.
I then began work on the front of the hull. There is a element that attaches under the front hull, and another that attaches to the end of the bridge. The connection is a simple one that acts as a hinge and that allows the bridge to pivot. As I wasn't planning on gluing the bridge in place, I went with a magnetic solution.
I had purchased some 'bar' style Neodymium magnets from e-bay specifically for this build. Off the top of my head these are 1mm thick, 3mm wide and 8mm long and were very reasonably priced. I knew that they would not be strong enough to hold the bridge in place, but they should be enough to help form a hinge.
 |
| Hull connection and bridge connection, shown the correct way around! |
One magnet was glued to the underside of the piece attaching to the hull of the tank, the other to the underside of the piece attacking to the bridge. Note that I did end up revisiting the hull connection and adding some small spacers - as I think one side of mine had been slightly miscast and I trimmed the longer side to match. This resulted in the bridge touching the tracks of the tank and I had to add spacers to correct this. It is possible this issue could also arise if the hull connection is too low on the Churchill's glacis plate.
Make sure the polarity of the magnets is not at odds!
Adding the magnets to these parts did involve some trimming, in order to give a smooth surface for the magnet to attach to. Not much! But each part was a I shape (in traditional iron girder fashion) and one edge of each part required shaping. this wouldn't be required if you were just gluing the bridge in place.
This was then strong enough a magnetic connection to keep the parts together and act as a hinge, while also allowing the bridge to be disconnected. Make sure the glue on each part is dry before you check that it works! These magnets are strong!
 |
| Front hull of the tank, with front attachment. The magnet is visible under this attachment, as well as the 'spacers' onto the hull I mention later. |
 |
| The underside of the bridge, closes to the tank - not the magnet under the connection point. |
The next section was then to provide a method of keeping the bridge elevated when attached to the tank. For this, I used some fishing line (the same stuff as I use for my tank aerials), ran it through the hole at the top of the a-frame and made sure it was long enough to reach the winch unit at the back of the tank. I then fashioned a small hook out of a small staple, and attached this to the end of the line - I found the section of staple could be made into an S shape, and the top of the S bent down to help grip the line - along with a small knot and a dab of superglue.
One thing to look out for here is to make sure the line is long enough - you can always trim something that is too long, but make it too short and it is a wasted effort. You can get a small amount of change to the angle of the bridge by hooking onto the front, middle or rear of the winch cage. I also considered using a couple of magnets to trap the line rather than a hook. Possibly attaching the winch cage to the hull using magnets?
This is where I encountered my first major issues. The weight of the bridge meant that the tank tipped forward (as you can see by the modelling tools in the above picture keeping the rear of the tank on the deck). As I had built the tank, adding ballast was a non starter. I would have had to build one of the spare hulls I had and move the various section over. I tried:
- Cut up metal sprue sections
- Filling the hull with sand
- Lead fishing weights (several different types) where I found the weight required to balance the bridge was somewhere between 41 and 60 grams.
I realised that trying to weight the tank down was going to been impossible. There was not enough room in the hull or under the hull for the amount of ballast I would need - so I had a think and came up with a solution involving a larger than normal base. If the tank was glued to the longer base, that should stop it tipping forward.
However, my aim was that the tank would be usable after deploying the bridge. But to put the tank on a base where it would not tip over meant using a large base that would look silly under a tank with no bridge. It just so happened a few months ago I had ordered bases to make minefields with for my Germans, so had some 2" by 8" bases lying around. By magnetising the base, and the underside of the tank, I could keep the rear of the tank on the base - and also remove the tank onto a smaller base once the bridge had deployed. This solved the issue of the tank tipping and the base size being wrong once the bridge was deployed.
 |
| The tank on the large 2" by 8" base. Magnets on the base keep the rear of the tank on the ground - rather than in the air! |
 |
| The 'large Flames of War' base to be used after deployment of the bridge. |
 |
| Magnets on the 2" by 8" base |
 |
| Close up of the magnets - I used some smaller round magnets I use for turrets just to give a little more pulling power. |
 |
| Underside of the tank hull - note the magnet on the far right, under the connection to the bridge - showing how the connection to the bridge is magnetised. |
I had also been looking at pictures of the tank online and discovered that more rigging was needed on the bridge to make the tank look more accurate (aka, 'Cooler'). Most pictures showed wires leading from the far end of the bridge back to the A-frame. I spent a
lot of time trying to get this to work, trying to use separate lengths of fishing line, then using thin styrene before moving back to one longer length of fishing wire.
Knots here did not work as they were too obvious. The Styrene did not work as there is a bit of play in the A-frame when attached to the tank. The single hole in the A-frame was also a tight fit for three bits of line.
In the end the solution was to drill two holes in the A-frame, to either side of the main hole. Using one long length of line, through both holes and back again, then fastened under the far end of the bridge, out of sight. This worked... for a while! See below...

Under the end of the bridge, I wrapped the ends of the line around each other and applied some super glue and then modelling putty to keep in in place. I had tried tying a knot, but the tension was uneven on each side of the bridge. You also have to be careful of any work you do here,
as the metal of the A-frame is very soft and is easily bent out of shape.
 |
| The far end of the bridge, with the connection between the 'rigging' line. Twisting together and then gluing seemed an easier solution as tying left an ugly knot and getting the tension correct on both sides was difficult. I then added some putty to keep the connection out of site and give it some more security. |
The three hole modification to the A-frame worked for a while, but then failed as the 3 holes merged... I corrected this by using a small bit of staple wrapped around the top of the A-Frame to make a U shape, which then hooked over/wrapped around the top of the A-frame. The two fishing line loops (from the end of the bridge rigging and from the connection to the rear of the tank) were both closed loops, so I slid the end of the loops through the hole so they emerged on either side, then put the staple between the end of each loop and the hole - stopped them from pulling through and meaning the tension of the loops held the metal in place. I don't know the technical name for this, but it works! The picture below probably explains better!
I also added a small bit of green stuff to the fishing line running from
the A-frame to the rear of the hull, in order to resemble a pulley.
I also replaced the section of fishing wire back to the rear of the tank at this time as I felt the original was too short and the angle of the bridge too tight/high.
 |
| The repaired A-frame - with small metal staple wrapped around the 'catch; the various wires. Green stuff also added as a pulley, and the wires from the ends of the bridge crossed before the A-frame as it looked a little cooler! |
 |
| 'the Hook' - connecting the A-frame of the bridge to the rear of the tank. |
As I mentioned earlier, on mine the bridge was also touching the front tracks of the tank, so I added small metal spacers made from some old metal sprue between the hull connection point and the hull of the tank. I think this may not normally be required, but that this part may have been slightly miscast with one end of the attachment being longer than the other - and I think I trimmed the longer one back.
|
| Front of the tank fitting with 'spacers; where the fitting joins the hull. |
 |
| Primed and ready for it's 'Russian Uniform' coat! |
 |
| Additional stowage has been added, in my usual style. |
More pics to follow once it's all painted and properly based up!
As for reviewing the kit, I'd give it a massive thumbs up - 10 out of 10. Brilliant and simple conversion (which I have made a bit more complex, but that was my choice!) that will add a huge amount to the table top and provides something not readily available elsewhere. Fingers crossed Shaun at S&S Models has some success with this, and the other 15mm conversion kits he has. I'd love to see more of them in the future - especially for British tanks!
I hope this walk through, while a bit rambling, was useful. Hopefully it will save someone making the same mistakes or hitting the same snags as I have!