Hi folks,
As mentioned in previous blogs, on Sunday 1st of August seven of us met up in sunny Billingham for our first large WW2 game since before lockdown. As Martin and Dave were keen to do something involving Paras/Airlanding troops and Commandos, we decided on doing Sword beach and the Commando's advance to Pegasus bridge.
Some 'gamers discretion' was used with regards to the terrain layout. In the end we decided to represent WN20 ("Cod") on the coast, with the road via what is now Colleville-Montgomery and St-Aubin-D'Arquenay (and WN15 "Rover") leading to Pegasus bridge, and WN17 ("Hillman").
 |
| Pegasus bridge looking North to the coastline. Hillman on the left, WN15 and the villages on the right. |
 |
| Colleville on the left, with St-Aubin on the right. We later replaced the ruined church with a normal one, which the players they blew the crap out of because it had a spire... They are learning! |
 |
| Our representation of "Hillman" (WN17). This was on higher ground with two observation cupolas for calling in artillery fire. We replaced the cupolas with bunkers as we had no suitable replacements, although the number of A/T guns and MG positions was roughly correct. Minefields and barbed wire also surrounded it. |
 |
| WN20 "Cod". The observation bunker is a bit taller than is accurate, but we tried to keep the layout correct with the addition on an anti tank ditch (brown strip) at the rear. The gap between the lateral road and the fence line was also mined. In addition, the farm outbuilding in the centre was a hidden HMG bunker. |
We started with Ian's airlanding infantry securing one end of Pegasus bridge, and being repulsed from the other. I wasn't much involved in that side of the table, so I'm not sure all what went on. I think in the future I'd stick to the historic positions on D-Day for this, with both ends secure and the three platoons present - I think it turned into a bit of a waiting game to see who was going to be shot up trying to cross the bridge... I think there may have been some randomness about glider arrival, but a lot of hanging about for Ian.
On the beach side, we had two breaching teams in LCT's running in, along with the DD's. the DD's were rolling a d8 to see if they could land, with the difficulty starting at 1 in 8 chance and improving every turn. This represented these tanks being delayed on the day, and the breaching teams landing alone first while the DD's still struggled ashore.
 |
| Pendraken 15mm MDF LCT - currently not available in the shop, but it will be soon (I hope!), via their Redvector range. |
 |
| My scratch build LCT, looking a bit big next to the Pendragon model, but still cool. |
 |
| The breaching teams from 79th Assault Squadron (79th Armoured Division) make it ashore, supported initially by a single DD from 13th/18th Royal Hussars |
 |
| Both breaching teams made swift progress in cutting through obstructions and moving up the beach. Here the player wisely decided to ignore the defences and push through to gapping the anti-tank ditch and minefield, losing a Sherman Crab in the process. |
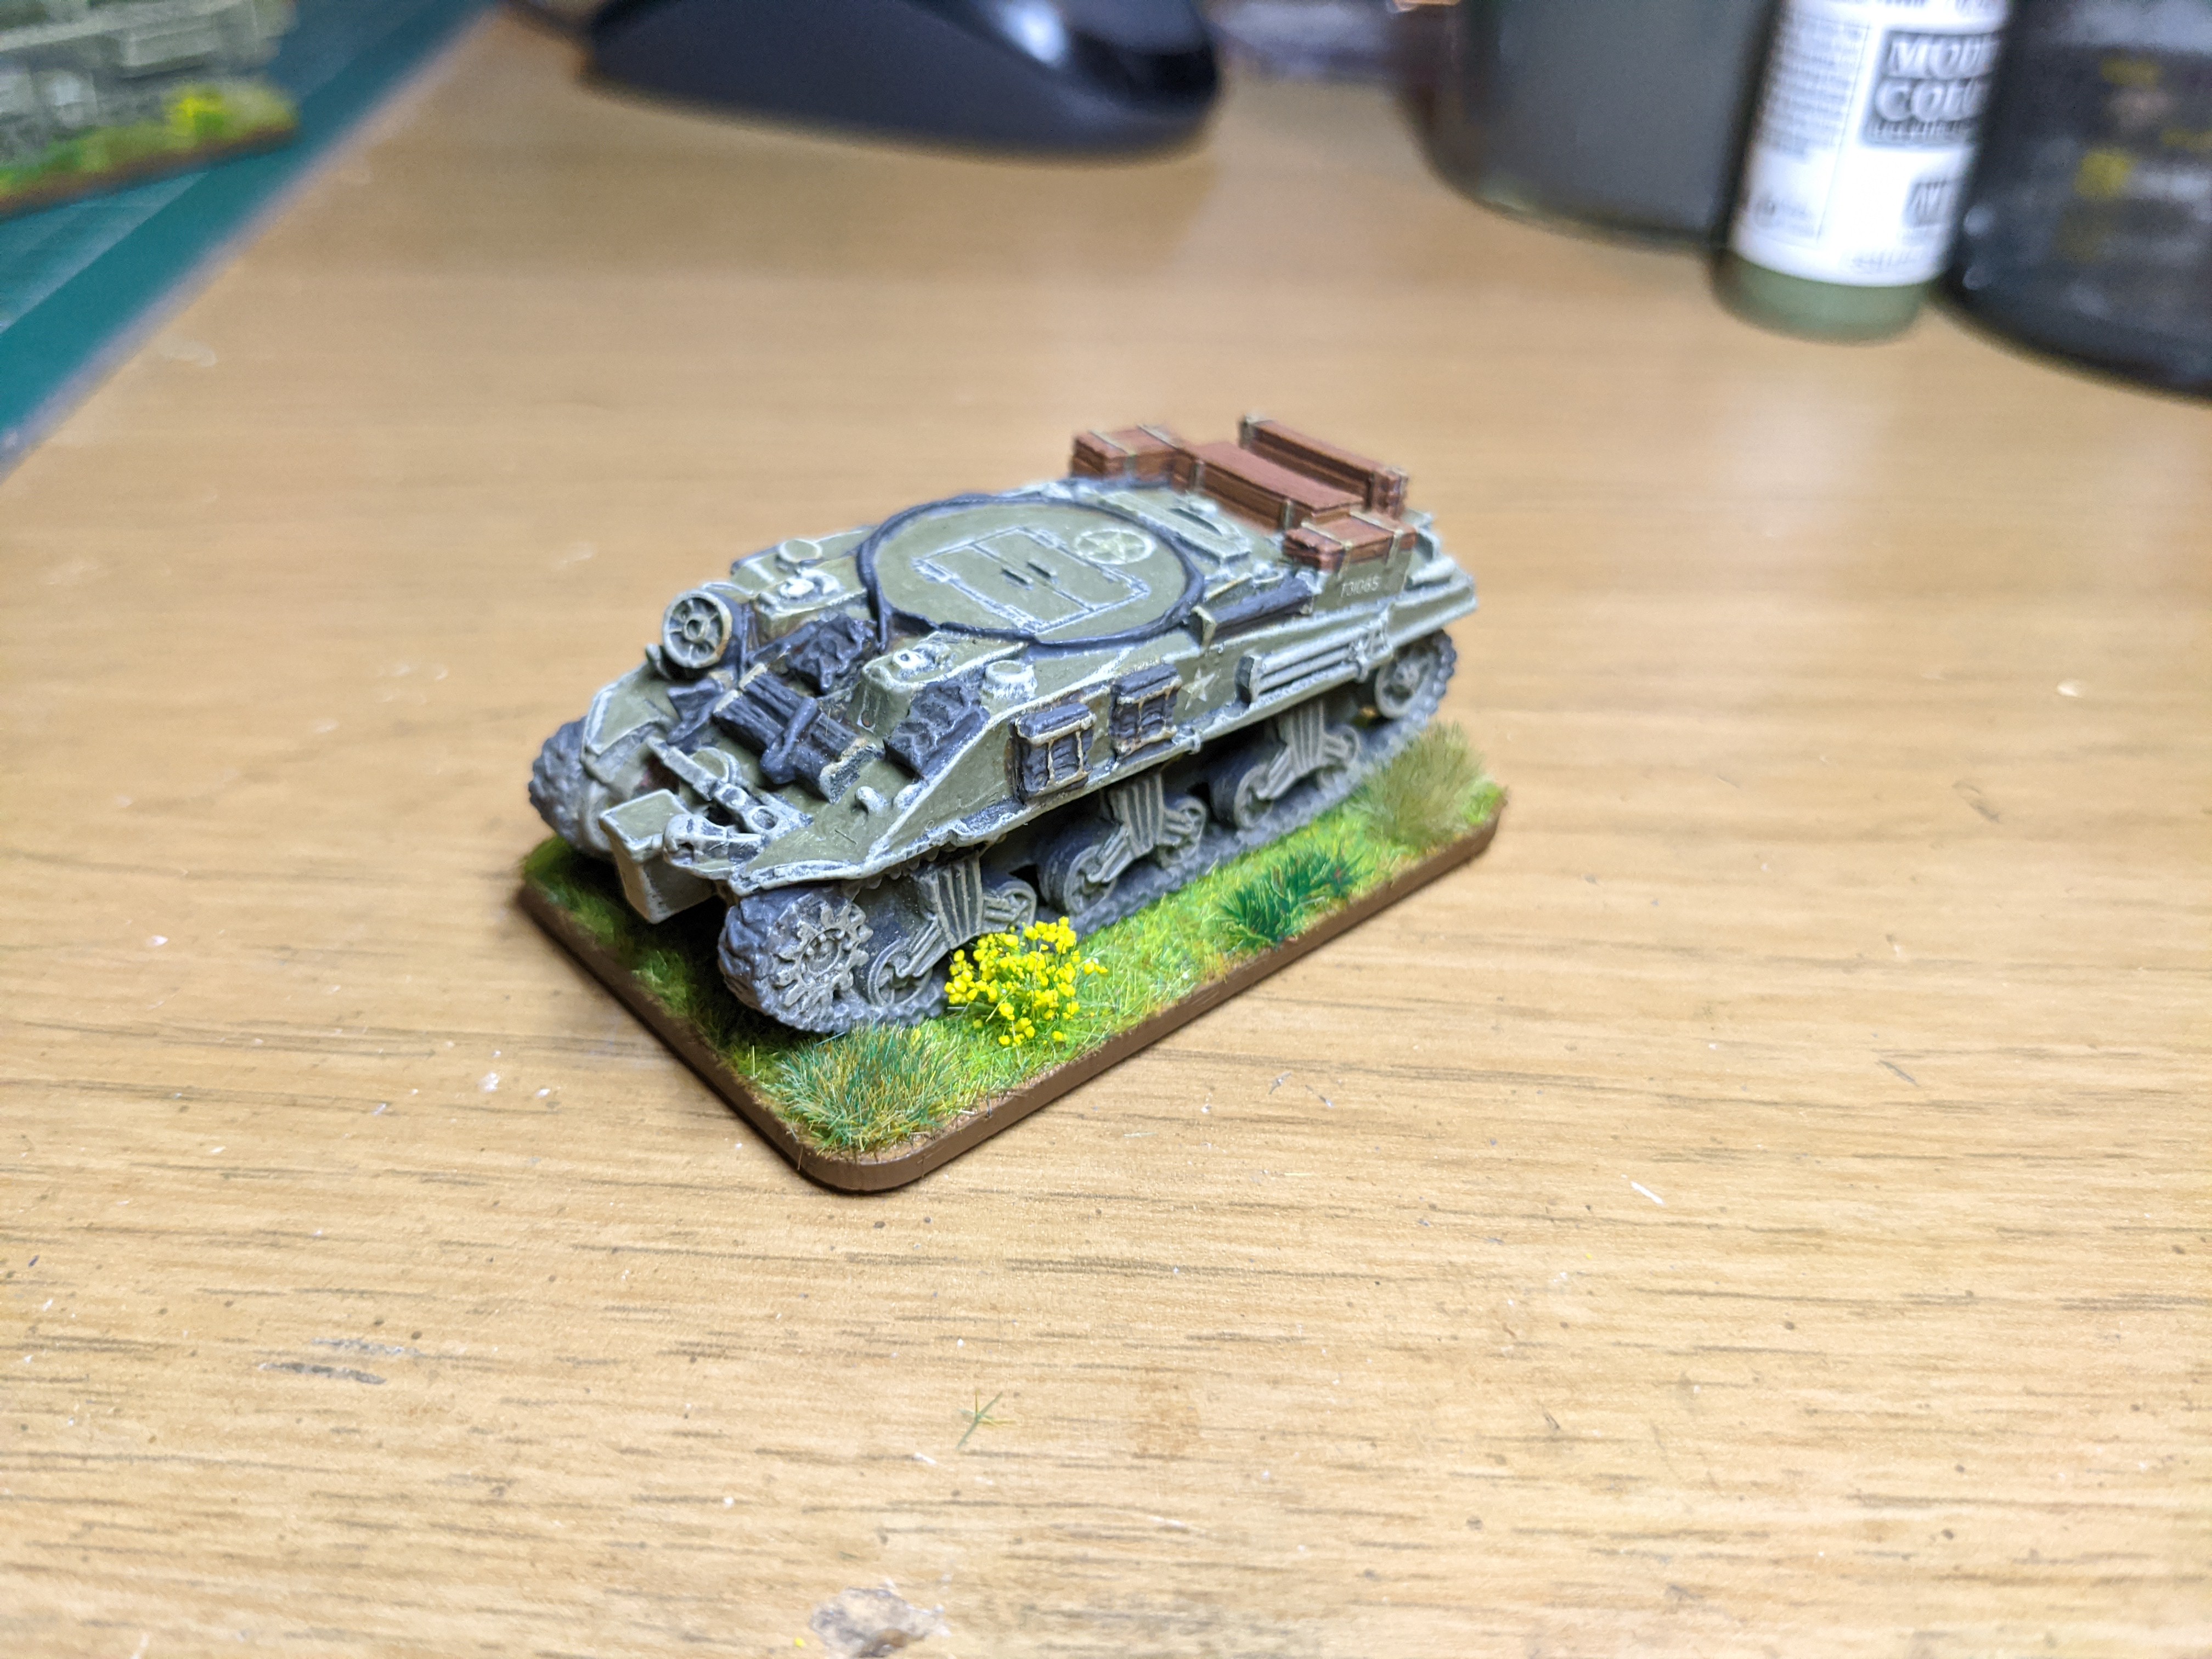
The initial wave was the breaching teams, consisting of AVRE, Sherman Crabs and a Dozer. The AVRE included Fascine and SBG vehicles, as well as 'virgin' vehicles with their Petards. Sherman DD tanks slowly came ashore, and between the various armour units began to pick apart the German MG defences.
I believe the plan on the day had been to have the DD's land at H-15, the breaching teams on H-10 and the infantry at H hour. Historically it seems the breaching teams hit the beach first.
As such, in our game they were followed up a turn or two later by the assault infantry from 2nd East Yorkshire regiment. I gave them a company of infantry, which was enough for the initial advance. I did have the capacity to land another three companies... but the players would have gotten bored moving them!
 |
| My LCA's offload onto the beach, while the funnies and DDs take up the advance. |
 |
| The infantry moved quickly, with a couple of units being hit hard by artillery and mortar fire directed from Hillman. Artillery had already ranged in on some of the breaches. |
 |
| German beach side defences are already looking hurt, as AVRE tanks start to move into the position. |
 |
| The overwhelmed Germans did not expect armour on the beach to quickly... As mentioned below, this was a major difference from the Utah beach game we have run previously. |
 |
| Under fire from Petards and 75mm guns, the Germans were pinned while the infantry advanced and assaulted some of the harder to deal with bunkers, clearing beachfront houses as they went. |
In a few turns the situation on the beach was more or less under control. The antitank ditch was breached in several places by dropped fascines and an SBG bridge, and the Sherman Crabs began to clear lanes through the minefield beyond. Infantry also moved up to clear gaps in the thick mine belt, as did smaller units of engineers. German artillery continued to cause infantry casualties. The Commandos came ashore from their LCI(S) after being held up offshore, while isolated German positions began to surrender.
 |
| A brave DD crew attempts to crush a German 50mm AT gun... |
 |
| Unable to bring the gun to bear, the gun team and nearby mortar and command teams surrender. |
 |
| Follow up troops (M10C's and 6-pdrs) move inland, as lanes are cleared in the minefield. |
 |
| The Commando's arrive en mass from an LCI(S). Thankfully German artillery was busy elsewhere. |
 |
| Medics tend to the wounded as prisoners are herded to the beach... |
 |
The minefield is well and truly breached, as Sherman Crabs make repeated runs to widen the gaps. Two Crabs are lost during the game, one clearing mines and one to A/T fire.
|
By this stage, troops and armour were moving inland towards both Hillman and Pegasus. We had a special rule for the Commados that allowed them to make a bonus move each turn if close to Piper Millin and Lord Lovat. We also had a rule that if a Commando platoon was pinned down, it could remove a stand and carry on. I'm not sure Martin's Commando's actually engaged in any shooting during the game, instead assaulting various German positions as they cleared their way through both villages. Materially aided by the Sherman DD's and AVREs who speculatively blew the crap out of several buildings containing German troops before friendly infantry even got close. As we use hidden deployment, we allow speculative shooting at buildings, church towers, etc. Those auto pass firepower checks on the Petards really hurt.
 |
| Infantry, AVREs and 6-pdrs moved up to put Hillman under fire. We were not paying close attention to command ranges at this point - as Umpire my take was that the various sub units would put themselves under the nearby infantry platoon commander... Effectively they were independent teams and I wanted to represent better the accounts from D-Day. |
 |
| Cleared lanes in the minefield marked by blue tokens. Reinforcing armour moving inland, after a short sharp engagement between M10's and Marders. More Shermans had been landed, along with SP artillery. |
 |
| Armour and infantry move to flank around Hillman and support the Commando advance. Roads had to be cleared of mines, and mines cleared from around Hillman. The A/T guns defending Hillman were all knocked out. the position itself was under artillery fire, small arms fire and tank fire. |
 |
| As the SP artillery move up to shell Hillman, Bulldozers make wider gaps in the anti tank ditch. Some of the British infantry platoons have been hammered by artillery by this point. |
 |
| With combined arms fire support and Sherman Crabs clearing minefields and barbed wire, British infantry from the 2nd East Yorkshires make it into Hillman... the writing is on the wall. |
 |
| Sherman DD's lending their weight of fire against Hillman while other armour moves inland, passing burning Marders. |
Meanwhile, the Airlanding were under some pressure! Throughout the game attempts had been made by both sides to cross the bridge. Dave had been rolling for German reinforcements from 21st Panzer Division, and rolled well enough to have mechanised units turn up.
 |
| Panzer Grenadiers from 21st Panzer Division had arrived to support the local forces trying to wrestle control of the bridge. the Marders went on to try and slow down the allied advance from the beaches. |
 |
| During the course of the day casualties were taken by the glider troops, and some of the markers collected by the beach invasion had to be spent on reinforcements for them. If the beach troops collected enough counters, they could move their reinforcement arrival point forward form the beaches. |
 |
| As I understand it, a mounted assault over the bridge by the Germans was defeated by a plucky Piat or two. The Germans took heavy casualties (troops on the bridge had a 4+ rather than 3+ save). |
However, in a few short turns the Brits were through the defences, and only a few dash moves away from the bridge... buildings containing Germans were rapidly overwhelmed by assaulting Commandos and 75mm tank fire from the DDs.
 |
| Almost there! A few last assaults to clear buildings of Germans! |
 |
| Lord Lovat reaches Pegasus bridge (after telling the DD tanks who had been van of the attack to 'F*ck off!', much to everyone's amusement) |
 |
| Lord Lovat meets Major Howard on the bridge - the Paras had held until relieved! |
A great day out, and really good to get some of my toys on the table... As usual, fantastic support was provided by Dave who umpired with me and helped set up terrain, providing the various mats and some of the scenery.
From a wargaming perspective, what was really interesting was the difference between this game and the Utah beach one. There, US progress inland was limited although the defences were not hugely stronger. The AVRE tanks and the armour landing first and subduing much of the HMG positions really made a huge difference, and it was really great to see the guys using these tanks in their specialist roles. We limited support options to what was on the table as well, as the Utah game devolved into calling in naval artillery and Thunderbolts on everything... this time round we only used beach landed support. I could have kept landing troops on the beach, but there came a point it was not needed and the game became more about traffic management, which certainly was an issue on D-Day.
More food for thought for future games - I like the idea of using the collected counters to allow tactical choices, while still driving forward movement. It provides a reward for taking objectives, and some interesting discussion about how to use this resource. There had been some resistance, for example, to re-enforcing the airlanding troops early in the game. As it turned out, the need to deploy a forward reserve arrival point wasn't needed - but I like the idea and might tinker with it in the future.
That's it all packed away now, although hopefully it won't be too long before we try something else!