Showing posts with label Battlegroup. Show all posts

Monday, 17 January 2022

Finished: 15mm logistics vehicles from Battlefield3d

Hi folks,

With this years Analogue Hobbies Painting Challenge now well and truly rolling, my first entry this year was not - as I had planned - half-tracks. 

Instead, I painted up three of the recently acquired 3d printed models that were sitting on the painting shelf. These models have been decaled up as supply vehicles from 'A' echelon, 144RAC. 


These are (from left to right) a CMP F60 Lorry, a CMP 60L Water Tanker, and a CMP 60L Petrol Tanker. Vallejo bottle for some scale. 

When I saw that these models were available in resin print form, I knew I had to get some in order to represent the 'A' Echelon' troops of 144th battalion, Royal Armoured Corps. Each tank battalion was divided into three echelons, F, A and B. 

'F' echelon represented the fighting element and vehicles of the unit, which would go into battle. 'A' echelon represented vehicles and men which were needed to look after the immediate needs of the battalion - providing rations, fuel, ammunition, cooking facilities, etc. 'B' echelon represented vehicles and men normally deployed further from the fighting and looking after long term stores, admin and repairs. 

Often overlooked, the 'A' echelon troops often had an extremely dangerous and hard job, keeping the tanks supplied and traversing perilous roads, often at night in black out conditions which carrying dangerous cargos. The tanks may have been leaguered for the night at the forefront of the advance, miles beyond the previous front lines with very little in the way road security or protection offered to those brining forward supplies - possibly under fire. 


I added 'mickey mouse' style camo to the ammo lorry, just for some visual interest. It's a real bugger to paint, but I'm happy with how it came out. The models have the usual selection of decals, and are based in my standard fashion. I did place them a little back on the bases, however, in an effort to protect the front bumpers - these 3d prints are very brittle. 

These models will see service on the games table as set dressing, objectives or some other specific mission. They have the markings of 33 Armoured Brigade and 144RAC. For the challenge, this entry netted me 24 points (towards my 250 point target...). 


Sunday, 1 October 2017

Finished! 15mm Typhoons, Aid Post and Forward Air Controller

Hi folks,

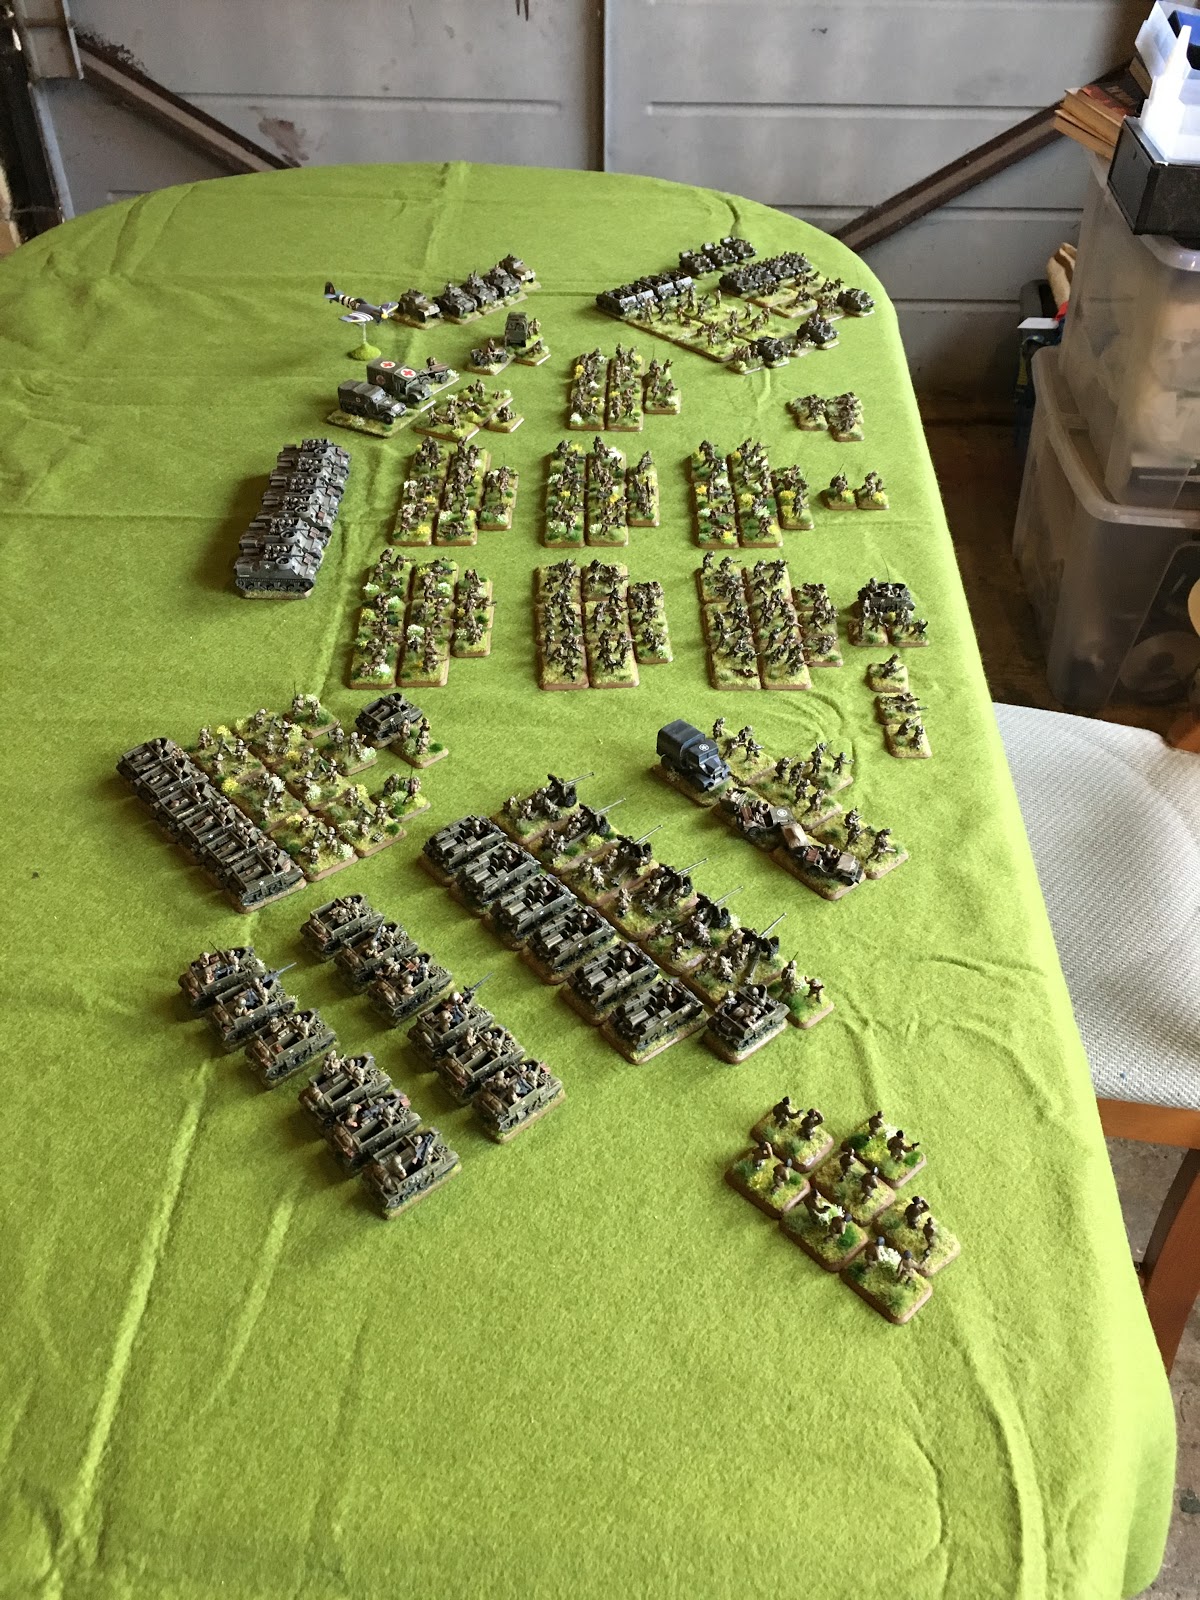
Aside from posting videos and laying out tables, I've been chipping away at the lead mountain. Having finished up a load of infantry recently, I fancied something a bit different. I've had a few ideas percolating in my brain for a while, regarding stuff I wanted to do for Battlegroup. The FoW v4 Scenario I ran earlier in the year opened my eyes to the possibility of including such units in those games as well, so I decided to put aside the infantry and move on to something that was a bit more of a diorama.

With regards to the RAP (Regimental Aid Post), there are not a lot of pictures out there of these operating in Normandy. I've read a few books which gave details of how these might be set up and run (mainly in the excellent 'Stout Hearts' book by Ben Kite), and saw a 20mm aid post done by the talented Piers Brand, before finally settling on something. I had read one account of a Regimental Aid Post set up in a field, which was subject to enemy fire. To protect the wounded and medics, some Universal Carriers were parked to offer cover. Combining this idea with the other images I had seen, I mocked up a base.

The plan was to use two Universal Carriers, a large base (initially the size of a beer coaster) and various casualty and medic figures I had. I eventually ordered a beer coaster sized laser cut MDF base from East Riding Miniatures in order to get the same thickness of base as I use elsewhere.

The end result was a aid post designed to be placed up against a hedge or building, which would give a decent representation while being tasteful.


I'm reasonably happy with the outcome. I had decided, based on other accounts, to use some of the dead figures I had - moving them to the other sides of the carriers away from the living. I've some medics, working to treat the wounded, and a couple of stretcher cases and walking wounded ready to be evacuated when the ambulance jeep next comes up. Some piles of supplies and the likes help dress up the base, and make it look a little more set up and planned. Another medic escorts a Jock carrying a wounded man into the post.

Both carriers have some camo netting on the outside facing - an attempt not to draw fire. I decided that a red cross wouldn't be represented here, but I might revisit - perhaps with a sign stood against one of the carriers.

My research into this area has opened my eyes to an aspect of the technical ability of the allied forces that I had missed in my previous reading. Stout Hearts has some excellent info on how the medical services in Normandy operated. The chain of treatment was pretty short, with most of the effort going into immediate triage, treatment and then evacuation. Within hours of being wounded a man could be on a flight back to England and a established hospital.

One story in Stout Hearts tells of an officer visiting an aid post to see some of his injured men. At the hospital he feels faint at the sights and sounds, and is invited to lay on a stretcher to recover. The exhausted Officer falls asleep - and wakes up being offloaded from a Dakota in England!


In addition to the aid post, I painted up a Forward Air Controller as an interim model. I'm pretty sure a Dingo is incorrect for this role, and it should be a Humber Scout Car or an LRC. I only had a Dingo to hand, so went with that for now. I've now ordered the special character set for the Guards which comes with the Humber and the M3 Scout Car with the RAF officer.


I've marked the Dingo up as a 154 Brigade HQ vehicle. I'd no cap wearing binocular figure left, so had to settle with a tin hatted RAF officer.

On call above, are three Typhoons - the one with propellers I painted a couple of years ago, and used as a template for the other two.


You can see from the bases that these are all different models! The two propeller less aircraft as Battlefront models - one white resin and one grey. Both vary slightly in size, which is apparent close together but not so apparent apart. The propellered aircraft is a MicroWings clip together plastic Typhoon 1b, which cost less than £3! Again, it varies in size, but not hugely. I have ordered BF bases so that all three will have the same base, as well as the extended length stands to get them a bit higher off the ground. I also did a little more weathering after these pics were taken.

I'd have loved to have them all the same, with the same squadron markings - but for now these will do!

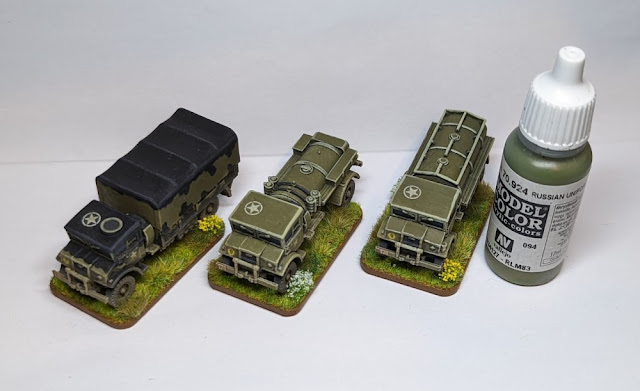
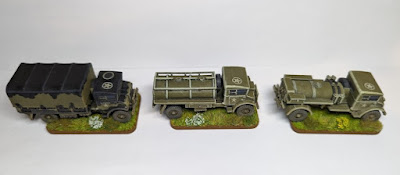
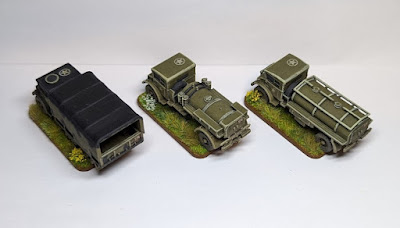
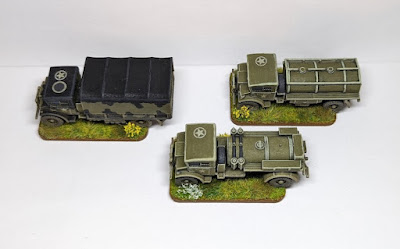
Next in the painting queue, I've switched sides! I decided to crack on with my 5cm A/T guns for my Germans. I then added to this plan slightly:


5cm A/T guns, 7.5cm Infantry Guns, 2 and 3.7cm AA guns... might as well have something to shoot at Typhoons with!

I've also managed to finish some outbuildings and gates:


More on these later!

Thursday, 21 September 2017

State of the collection 2017 - The Terrain....

Hi Folks,

As well as getting all the soldiers out, I also took the time to set out some of my terrain. I have had a big push on this year to get myself terrain. Not just a few hills and stuff, but a proper ability to set up a table that matches the effort I put into my figures. 

I've picked up bits and bobs here and there, looked at what other people are doing and been impressed and inspired. So, my final video (unfortunately with poor lighting) is a test setup of my town scenery:


Again, as the pictures seem to have come out better, I'll stick some up here. I've still got a long way to go, but I think I'm on the right track. Comments and constructive criticism is very welcome!

Please excuse the garage mess in the background!


Lack of base boards down this side of the table. I still had a few buildings left to put out, but had ran out of space. 


"It's quiet... too quiet.."

The Battlefield in a Box town squares really helped. 

Really proud of how the damaged buildings look, although the rubble is a bit too pale in places. 

Some Shermans and a StuG added for scale!

The outbuildings seemed to work really well. More work needed on stuff to go in the yards!

Basing to be done on the trees, some more basing boards required. 

More gravestones needed - the area around the church is pretty bare looking. I've got some much larger bases (3.5" by 3.5" that I may use with gravestones). I may also base up the walls to put some greenery along the bottom. 

Monday, 18 September 2017

State of the collection 2017 - Part 3 - British Infantry and Support

Hi folks,

Trudging forward, my next table full of mini's is my infantry. Now up to 2 rifle companies and 1 support company, I'm one rifle company short of having the whole battalion as at Operation Totalize start on 7/8/44!


For the record (and because I bothered to count!) I currently have 34 painted Universal Carriers and 10 Loyd carriers. There are still more to do, with 2 more Universal Carrier currently on my painting desk (to be part of my planned aid post). And there's good few more in the lead mountain!


A and B Companies, 7th Argyll and Sutherland Highlanders, 51st Highland Division

Support units: starting back left: medical support from 176 Field Ambulance, RAF Typhoon, Provosts/MP's,  Armoured Cars from 2nd Derbyshire Yeomanry, Royal Engineer Field Platoon, 4.2" Mortars, Wasps and Vickers MMG's from 1st/7th Middlesex Regiment. 
S Company, 7th Argyll and Sutherland Highlanders: Carrier Platoon, 6 Pdr A/T Platoon, 3" Mortar Platoon, Pioneer Platoon.


A and B Companies, with A Company's De-frocked Priests at the rear. 


Monday, 21 November 2016

Finished! Churchill Fascine, Churchill SBG, Austin K2/Y Ambulance

Hi folks,

A tiny little bit still to do on these - mainly crew to add to the tanks and the steel paper to put on the underside of the bases. But other than that, I'm calling these three done!


I've a couple of blog posts to do specifically showing off the parts to each kit, but initially these are all 15mm models:

Churchill conversion kits from S&S Models and Churchill models from PSC
Austin K2/Y Ambulance from QRF

I've used mainly Vallejo paints on these, with a couple of different varnishes and my own 'magic wash'.

SBG Churchill

The SBG Churchill is magnetised in order to make both the bridge and the base removable. This allows the bridge to be deployed and the tank to be moved to a smaller size base.

This tank has been decalled up as a vehicle of 80th Assault Squadron, 5th Assault Regiment,  1st Assault Brigade Royal Engineers, 79th Armoured Division.


I also used a new basing technique on these following some feedback via Facebook. I applied two tracks of darker shorter static grass to the base and then applied the usual shade all over as normal. This (hopefully) makes it look like the grass has been crushed by a weight passing over it.

Really nice model and I'm really chuffed with it.

Churchill AVRE

This tank was built with a magnetised Fascine bundle, allowing it to be removed or to be carried on the tank. The front section used to hold the fascine is not removable, so the turret traverse is limited - but I think that this may be historically accurate anyway.

This tank has also been decalled up as a vehicle of 80th Assault Squadron, 5th Assault Regiment,  1st Assault Brigade Royal Engineers, 79th Armoured Division. 


Another lovely model - something different, that's for sure!

Austin K2/Y 'Katy' Ambulance

This heavy duty ambulance was used is various theatres but is most commonly known for the role it played in the film 'Ice Cold in Alex'.

My version is painted up for service in NWE. It's decalled up as an ambulance of 176 Field Ambulance, 51st Highland Division (assigned to support 154 Brigade). These are the same markings as my Ambulance Halftrack and Ambulance Jeep. Somewhere down the line is a first aid station...


The weathering powder, on the ambulance especially, looks far brighter than it does on the model. Must be the way it picks up the light, or something my Camera is doing?

So, that is most of my Novelty November Challenge complete, other than my Radio Truck. It is painted, just the basing still to do. I've been held up by a cunning plan to mount some figures on the base with it and make a little diorama. Still in the process of painting the figures, but should have them done in the next day or so.

Thanks for reading - and remember you can get regular updates on what I'm working on via my Facebook page.