Showing posts with label Plastic Soldier Company British Army Spray. Show all posts

Monday, 31 August 2015

6MMRPC - Universal Carriers and planning

Hi folks,

This week I made an attempt at what I thought was going to be a never ending chore - in the form of 12 Universal Carriers and 3 Wasp Carriers. A video blog of this weeks work can be found here:


These guys are another group of models that have been sitting looking at for a long time, but kept putting off as I felt they would take a lot of work. While they are not finished yet (I'll talk about that in a bit) I'm quite pleased to have gotten so far so fast.


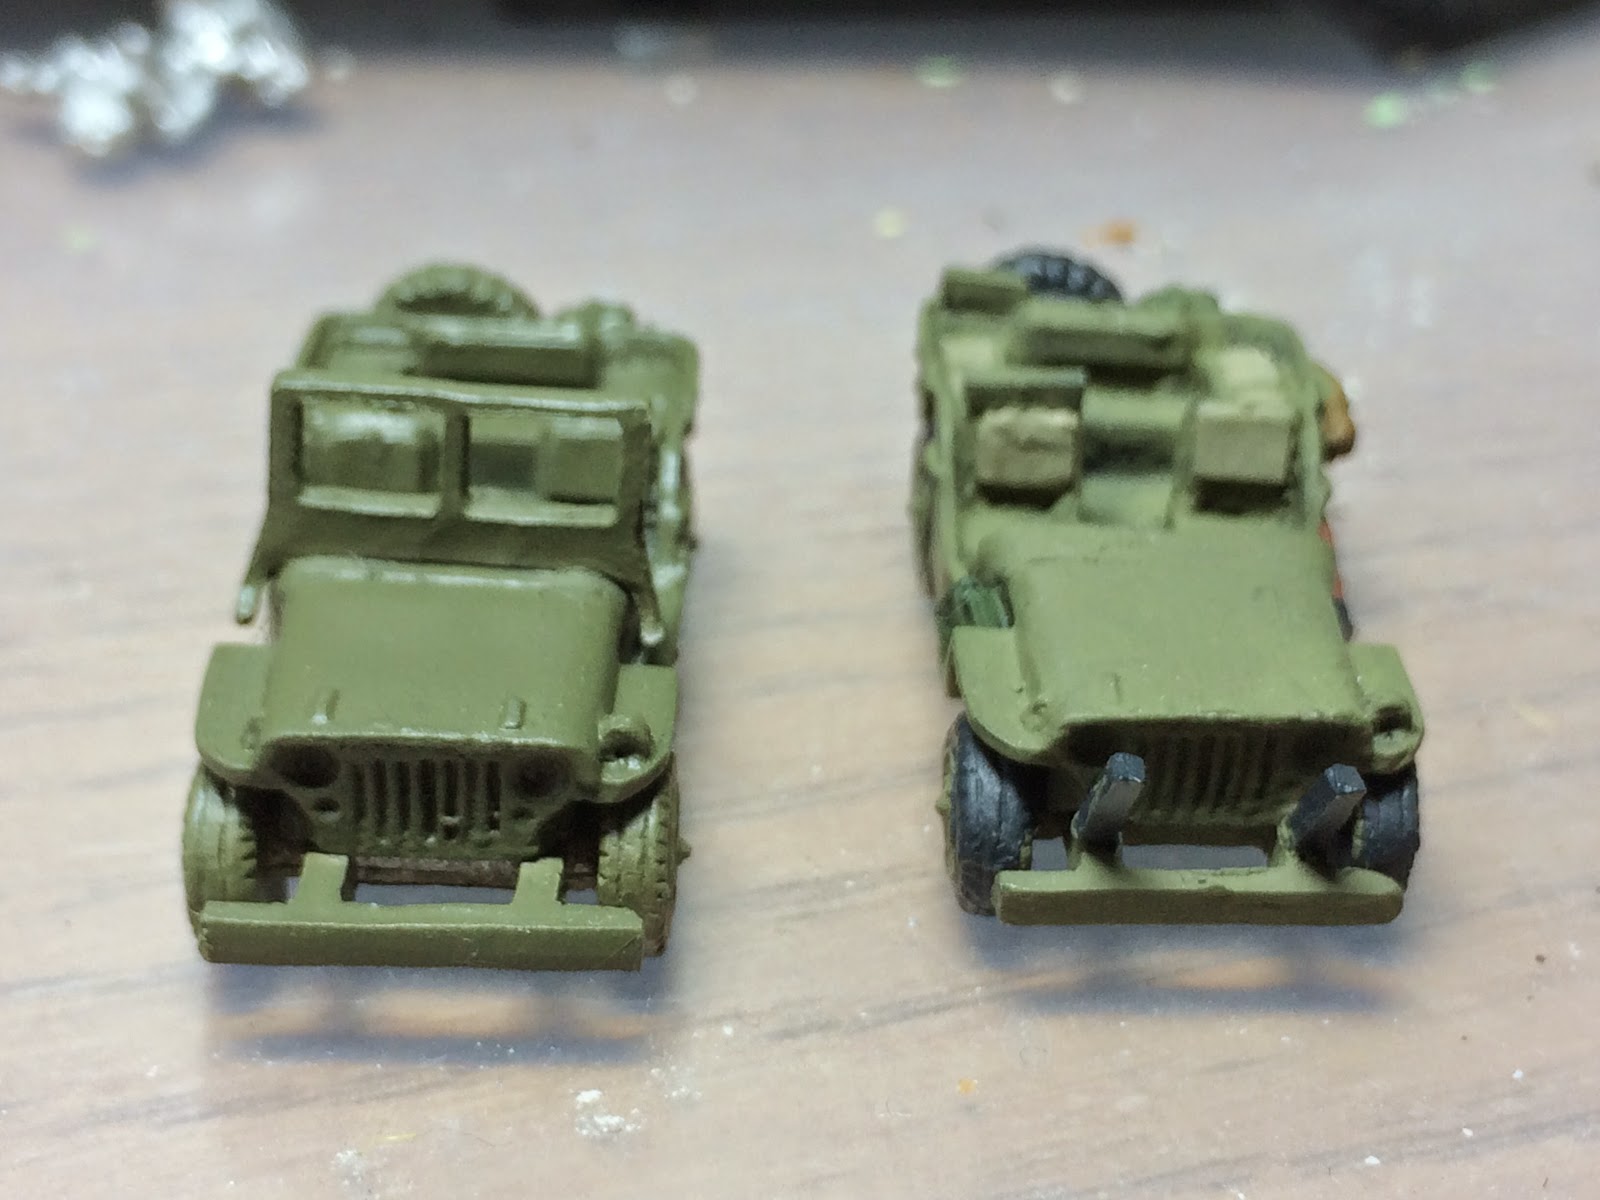
So these models are Forged in Battle (for the Universal Carriers) and Battlefront (for the Wasps). Crew figures are a mix of Battlefront and Forged in Battle - with a few minor conversions. I think some of the PIAT gunners are (I think) Skytrex - provided by Dai over a year ago!

I've posted before about the crew poses - these were purchased well before the new Battlefront sculpts came out and I had to bodge a lot of it. The PIAT crews are one example of this, as is the .50 cals and crew.

Painting was the standard Russian Uniform (Vallejo Model Color 70.924) which I hand painted over a spray of the Plastic Soldier Company British Armour spray. I really mucked up with the spray paint on these guys, getting it too thick in places and missing other parts altogether and ending up with a rough finish. Spraying these outside also saw the models covered in lots of tiny bits of plant material that have been a real nuisance. I'm not sure I'm going to go down that path again... But the speed of applying a spray undercoat does still attract me. Perhaps I should give my airbrushing a shot again at some point.

Other colours used on these guys included Model Color Khaki (70.988) for crew webbing and canvas rolls, Green Grey for some canvas rolls (70.886), Mahogany Brown (70.846) for wood, crates, boxes, etc, Reflective Green (70.890) for jerry cans and barrels, Flat Earth (70.982) for bases, English Uniform (70.921) for crew uniforms, Russian Uniform for the helmets, German Grey (70.995) for tracks and guns.

Some close up shots:


So each group of Universal Carriers includes a PIAT, a .50 cal and an extra hull MG carrier, giving one of each in 4 squads of 3.

One big change for me was the painting of the crew figures in the vehicles. I would normally paint these separately and glue then in once the vehicle is done. However as a lot of these figures were conversions or cut down normal infantry, painting them separately just was not going to work.

I also took some time to fix these guys:


Which are Forged in Battle crews for the Universal Carriers and Loyd Carriers. These guys had been painted last year some time but had gone cloudy when the matt varnish had been applied. They had sat on the shelf waiting to be repainted for quite a while until this weekend when I decided to try the paint on gloss trick on them. This seemed to have worked! I just need to give them a quick re-highlight and they are good to be used. I realised when working on these guys that the Loyd Carriers and Universal Carriers for my 4.2" Mortar platoon are all uncrewed!

To crew the other models I have in my unpainted mountain, I have a stack of vehicle crews to paint (again!). I prepped them this weekend as well.


I mentioned earlier planning...

I'm moving (again) in October from bonny Scotland to North East England - Middlesbrough area to be more accurate. I've got a transfer from work which will save me a 15+ hour a week commute into and from work while at the same time putting us in the same area as all of Amy's family. I've not much tying me to this area other than friends, a few family and a vague hope that I can see my son (which has happened once in the last 17 months). It seems unfair to be keeping Amy from a family she is very close to just so I can live in my preferred country. So off we go!

The hobby impact on this is a bit of an unknown. What I do know is that in the short term we are going to be staying with Amy's parents while she looks for work. I'm a bit wary of varnishing anything while staying in someone else's house, so I am planning on getting a few things varnished prior to the move. This means I can just highlight and decal while there, which means I can still make progress towards the challenge. So other than a coat of Army Painter, these Universal Carriers are done for now.

Monday, 4 May 2015

Actual modelling progress (aka take that #6MMRPC!)

I'm not sure whether it was having the day off, the nice weather or the fact it's the Carronade Wargames show this weekend (Scotland's biggest). Whichever it was I got myself organised and actually did some hobby related work.

The first was cleaning all the vehicles I have been prepping over the last few weeks. I had meant to do this on Saturday and then Sunday...


Several of these blisters have more than one vehicle in them. Not a huge amount of work to clean them all, just time consuming.

I have seen a bit of discussion recently on one of the FoW Facebook groups on whether there is a need to wash your mini's. Honestly, if you saw the colour of the water after washing this lot you would clean all your mini's. I have no idea what effect all that crap has on the painting, but I don't want to find out!

Then I decided to spray some models - this became a bit of a job as I first tried the Plastic Soldier Company British Armour spray directly on to my Forged in Battle Universal Carriers. The FiB Carriers are a white resin, and the spray just did not go on properly. Now, this may be an issue with the spray or just with the colour of the resin. I dug around and found a can of Black (a Armypainter one) and gave them a skoosh. Then went back with the Plastic Soldier Company green. I also did the Churchill Croc I had done before as I wasn't happy with the tone of the green going on without a black undercoat.


So that's 12 Universal Carriers (+1 that was almost ready to be sprayed, I think it might end up being the 4.2" Spotter carrier), 1 Churchill Croc and 3 Wasp Carriers.

Then, since I had sprayed stuff and it was still nice, I decided to try my Dark Tone Army Painter dip. Slight issue with this since I left it sitting out open last summer, it's gone very thick and I may have to replace it. Still, I decided to do a tank or two, and a few hours later...


I'd done my whole winter backlog.

'A' was a little miffed to come home to me and the kitchen stinking of turps tho!

One thing I have discovered with the Army Painter dip is that previously I had just been dabbing off the excess and having to do a bit of work afterwards due to the amount of dip still on the model. Now I splodge it on, leave it a minute or two then dab off the excess. I then wash the brush in turps again, wipe off most of it leaving the brush a little wet, and do a 'reverse drybrush'. The turps still on the brush takes the dip off the higher points and makes the details 'pop' a bit more while still giving shade where it's needed. Hopefully that's not compromising the varnish, but I'm pretty sure there is turps in the AP.

So, that was my May bank holiday!

Sunday, 8 March 2015

Plastic Soldier Company WW2 Armour British Spray Review


With most of my fellow 6 Month Mountain Reduction Painting Challenge (6MMRPC) having hit their 6 months point last week and finished the challenge (well done everyone!), I am in my final stretch. I started almost a month later so I am aiming to finish at the end of March.

As part of that final push I've been trying to get a couple of full units that are in progress to the point of at least getting to the 'yellow' stage on my painting chart. Varnishing is still not possible due to the weather here and despite having permission to varnish in the spare room, I've held off because having permission from the better half does not always mean it's a good idea...

Today we had a dry clear day - although the wind was a little gusty. Our back garden is a lot smaller than at the cottage, and a bit more sheltered. I took the chance to try out the PSC British Armour spray I picked up a long time ago.

I've held off using the spray as my other models are painted using Vallejo Model Color 70.924 Russian Uniform as the base green. I knew that using the spray would result in a slightly different tone, but today I decided to give it a shot.


I also discovered a macro setting on one of the camera apps on my phone, so thought I would test that out.


The jeep on the right was hand painted using Vallejo Russian Uniform. The left hand jeep is straight off the spraying board. I'm not sure that the pictures show it, but the PSC spray painted jeep has a slightly deeper tone. Definitely slightly darker that the hand painted one. All in all though I'm quite happy with it.

The tin itself seems to contain a good quantity of spray. It went on easily enough (despite the wind!), although I always struggle to stick to the spray range on the bottle. at 12" it didn't seem like any spray was making it to the models. Again, this could have been the weather.

The other thing to note is that the jeep was sprayed straight on to bare metal and resin. The Loyd carriers I sprayed had been primed black first. The spray is labelled as a primer, so I will go over the non primed models with a quick coat of Russian Uniform, to help the colour match and give a little more protection.

The macro setting on the camera seems to work, but does show off my too thick paint. Getting consistency right is something I still have not managed with the Vallejo paints. When I try to water down I end up with a consistency like that of a wash, but when I don't water it down the finish on the paint isn't as smooth as I would like.

Anyway, the PSC spray is a decent match. I'm happy with it and will use it again.