Hi Folks,
I had the pleasure this weekend of attending a Sunday Gaming day with
'The Old Guard Wargames Club' just outside Northallerton. We had a day of gaming (with a short visit to the pub for lunch), and much of the day was spent playing a 28mm game of Black Powder using Dave D's impressive collection of Sudanese figures.
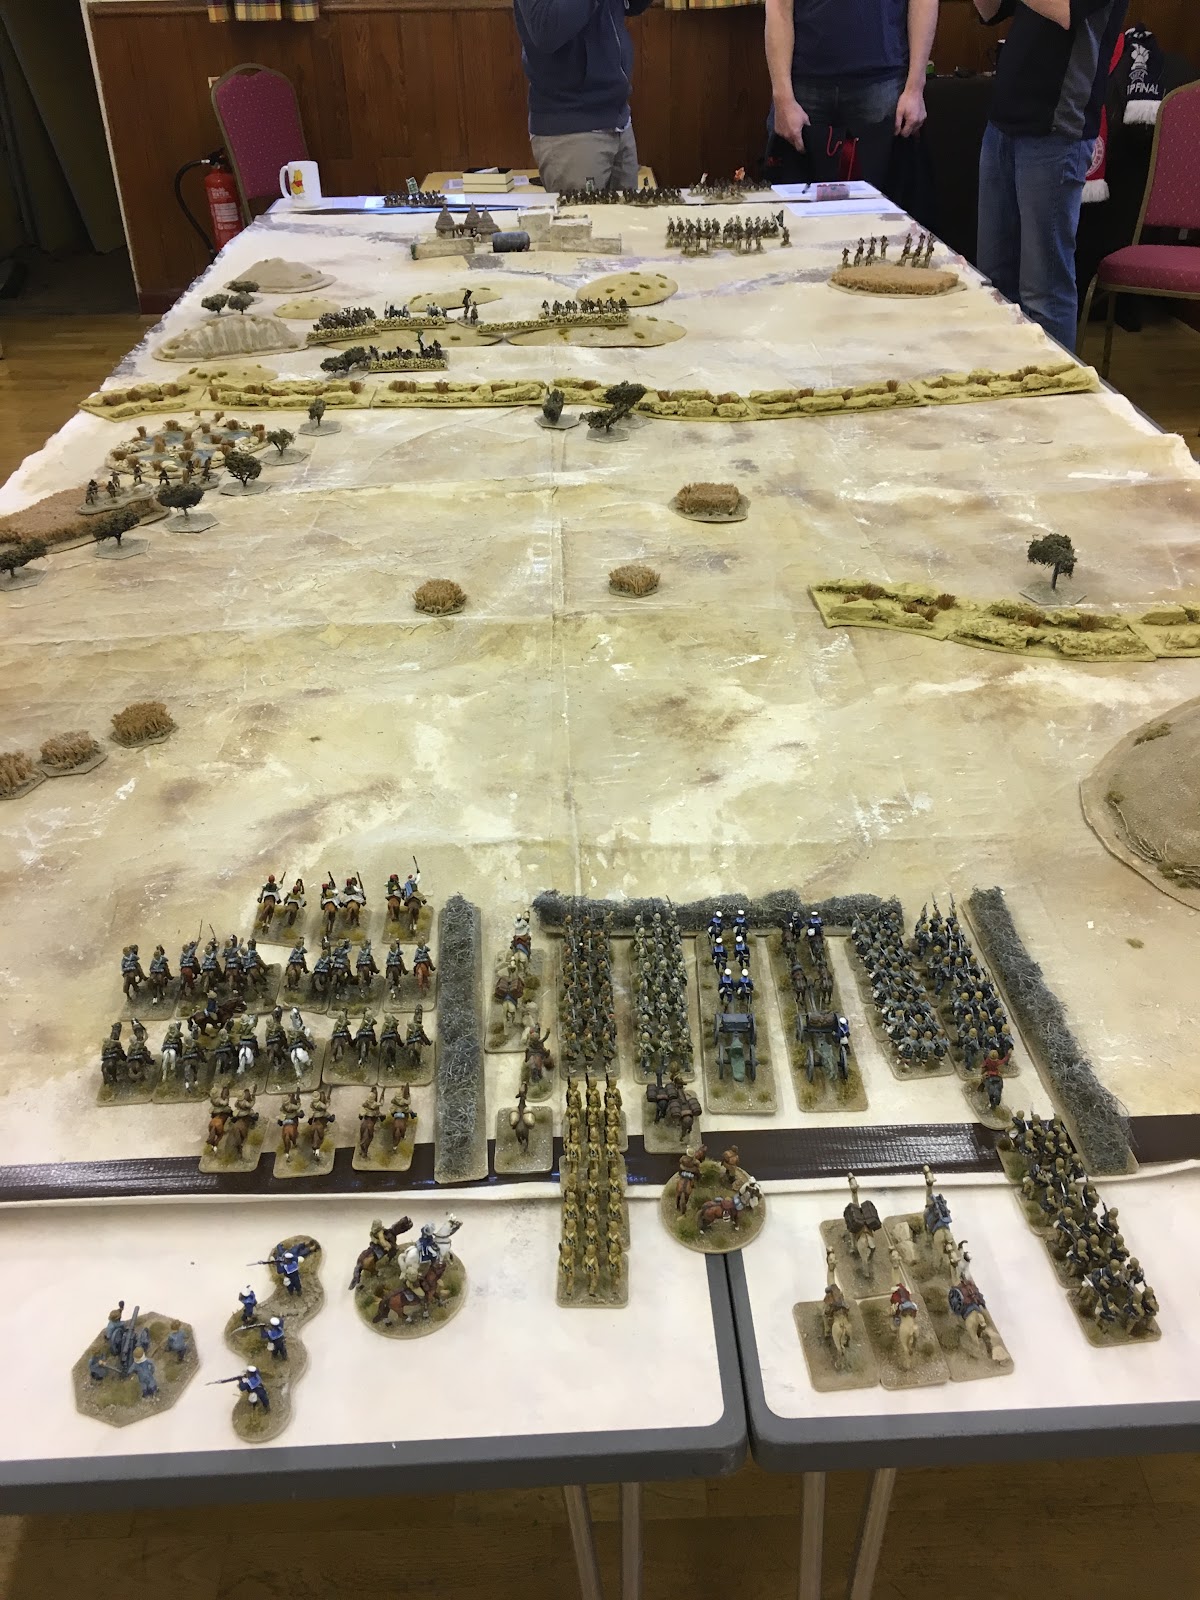
We were playing on a 12' by 6' table, and the scenario was from the Black Powder rule book. Notice the village at the very very very far away end of the table.
Other reporters have gotten their 'stories to the papers' first. Check out Dave's report
here, and Martin's
here. Excuse the tongue in cheek report!
I had volunteered in advance to command the British 2nd Brigade. This comprised of:
- A Battalion of the Black Watch
- A Battalion of Royal Marines Light Infantry
- A Battalion of the Yorkshire and Lancaster Regiment
- A detachment of sailors with two 'machine guns' (and a small skirmish base once deployed)
- A Royal Artillery Howitzer
I was fighting alongside Martin, with his 1st Brigade:
- A Battalion of the Kings Royal Rifle Corps
- A Battalion of The Gordon Highlanders
- A Battalion of the Royal Irish Fusiliers
- A Royal Artillery Howitzer
And John with his Cavalry Brigade:
-
10th Hussars
- 19th Hussars
- Mounted Infantry
- Abyssinian Mounted Scouts
Some pics of the arrayed force:
And my own forces....
 |
| My Brigade - front left is the artillery gun on the back of the camel (limbered), on the right of that the Black Watch with the RMLI to their right and the two naval 'machine guns'. Behind them the Y&L's and some correspondents. |
Our mission was to capture the village ahead within 8 turns. This seemed like a tough order, given the size of the table (and this was reinforced by the first few turns being less than stellar). Our 'emergency' path to victory was discussed before the game and quickly became 'Plan B' (AKA 'lets just smash the F*ck out of their army and win that way').
The Mahdist forces were split in two, with one large 'brigade' of 10 or so infantry units and two guns, while the cavalry 'brigade' consisted of two horse cavalry units and two camel skirmish units. These were deployed after ours, with a lot of the units in 'reserve' off table.
Our forces had a limited deployment area as we were arriving in column. We squeezed as much in as we could. The plan was for my brigade to go up the centre, martins on my right with 3 Battalions and a gun to advance up my right (clearing the terrain there as he went) and the Cavalry under John to scout terrain and cover my left.
We immediately realised that the Mahdist forces would likely try to hold the ridge line and the wadi to our front, but knowing the enemy to be sneaky beggars, we were expecting ambushes from other terrain. We were also planning to get our artillery forward to a position to be able to hit the ridge line.
So, with the bold Black Watch leading the way, the attack stepped off.
Initial movement was slow, with several units failing command checks. We didn't know at this point that units in column get to move once without any checks.I moved forward quickly, while Martin on my right deployed troops to check out the wadi there. The Cavalry advances to keep pace except for the mounted infantry, who were to hang back - they were a small unit and losing both small units could cost us the brigade. However, they kept failing command checks and I think it was turn 3 or 4 before they moved!
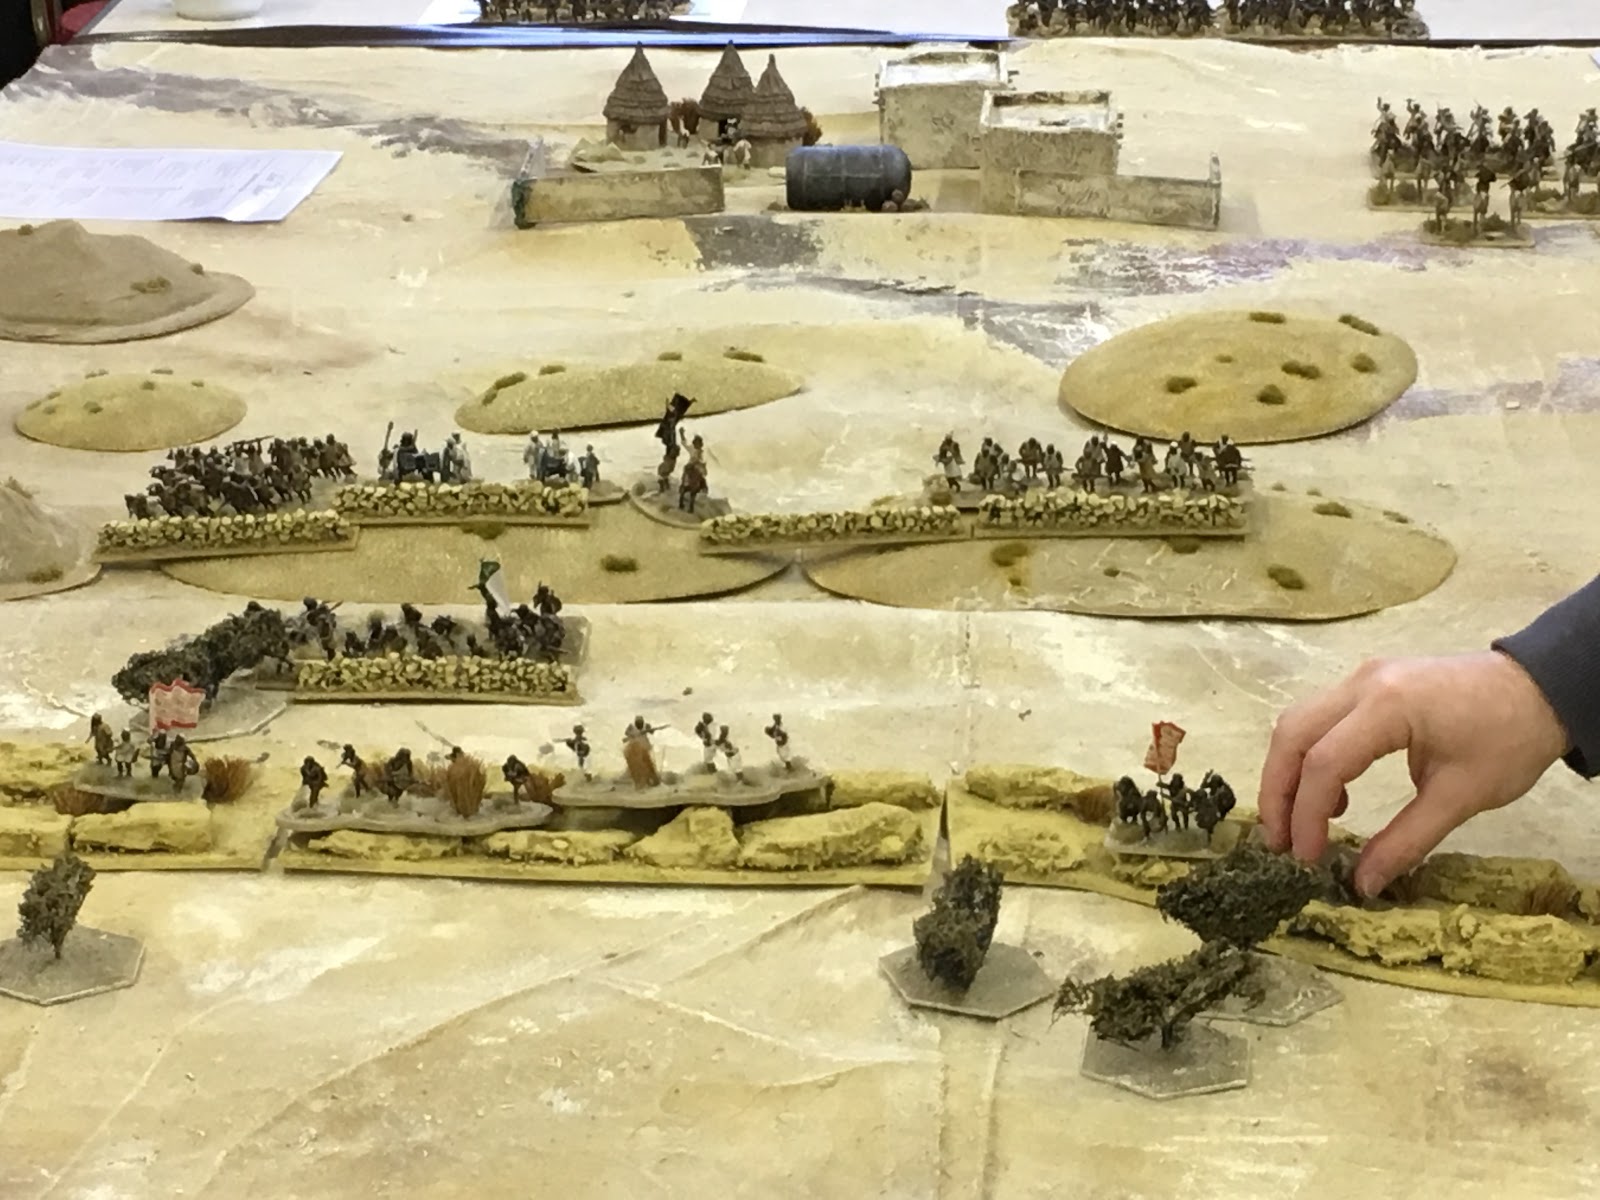
Mahdist troops appeared on the expected ridge line, with two cannon and several infantry units. Skirmished appeared in the wadi to the front and left. Mahdist artillery at long range proved very (too?) adept and put a hit on the Black Watch causing them to fall into a state of disorder (I think the rum ration may have been hit...). The skirmishers on the left also hit the leading cavalry unit and put them into disorder. This is where things started to go wrong...
2nd turn, the Rifle Brigade troops on the right decided to blunder, and rather than clearing the wadi they moved sideways - into my columns. This caused further disruption to the advance, and meant the right hand brigade was only advancing on the Generals command check (Roy was the supreme commander).
The RMLI deployed into line to advance on the skirmishers ahead, and the machine guns moved up and unlimbered with the skirmishers covering the flank (towards the wadi). 1st brigade did move forward to support. The cavalry stopped to water the horses, it was time for Gin, or something...
Fire was opened on the skirmishers ahead, with the machine guns being pretty underwhelming!
On the 3rd turn, the Black Watch got shifting and moved out to the left to tackle the skirmishers there. 1st Brigade moved up on the right and deployed into line beside the RMLI. Our guns began to hit back at the Mahdist artillery, deploying into firing positions. The cavalry were now having tea with little cakes...
While the Ethiopian scouts were forward with the leading troops and actually engaging the enemy with small arms!
But little did we know what was coming!
Fire from our units at the fore destroyed the Mhadist unit in the forest while the Black Watch disordered the skirmishers on my left with close range fire.
However, Mahdist turn 3 saw the rest of their army turn up - mainly in the rough
ground ahead of the Black Watch. Time to fix bayonets lads! Lots of fanatic spear armed units suddenly appeared in the undergrowth...
Thankfully, none could charge straight away due to distance and terrain. But there was now a veritable horde in front of the lone Black Watch battalion.
On the right flank (a sideshow compared to the main battle...!) a mass of Mahdist cavalry advanced, lead by skirmishers on camels.
Thankfully in the British turn 4, the British cavalry finished their tea party and decided to help out the Black Watch. A solid cavalry charge by the 19th Hussars destroyed one enemy unit, while the Black Watch fired on those to their front and disordered them (unable to move or charge next turn).
White rings on units represent casualties and red rings disorder.
The other units in my brigade hurriedly shifted to the left to support the Black Watch, while the Machine Guns lost one gun to artillery fire. The 1st Brigade (Martins) on the right put fire into the camel skirmishers to their front, putting both units into disorder and (we decided) effectively blocked a charge route for the mass of cavalry behind. This was to be a recurring theme, with a traffic jam developing on that flank.
With a little more help on the left, I felt a little more secure - and Plan B (Kill them all!) was now in force, so it was useful that the Mahdists had come to us! Johns Cavalry charged another Mahdist unit and both groups took a beating, with the cavalry winning the fight but deciding to fall back having become shaken.
 |
| The combat which resulted in the British Hussars winning, but returning to their own lines to regroup! |
In the Mahdist turn 4, yet more troops arrive! Those
across the wadi surprised us by leaving their positions to charge
forward into the centre and developing fight on the left flank, while
the fight on the right hots up. My sailors with their Machine Guns moved up to support the 1st Brigade line, but the gun jammed...
The Royal Marines moving up to support the Black Watch but receive a charge from Mahdist units across the wadi, which they manage to beat off against the odds - becoming shaken from casualties in the process.
Turn 5 saw poor command rolls from me, and not much movement. The cavalry held the line, with the plan to charge any incoming charge and allowing the Black Watch to concentrate on firing at the units to their front.
The Mahdist turn 5 saw more charges hit the British line. The under pressure Royal Marines, the Black Watch, the Sailors with their jammed Machine Gun and the Y&L's all take a charge, with the Y&L's being charged in the flank. This ended badly, with the unit being forced to retire in disorder. The RMLI drew their combat but found themselves surrounded. Things were looking bleak. The Black Watch gave the incoming charge a volley and I think it failed to connect. The Machine Gun managed to draw the combat - unwilling to give up the gun! The Mahdist cavalry moved around the stalled skirmishers and charged the Gordons - suffering a volley in the way in and then ranks of Scots with bayonets fixed! The Cavalry broke and fled.
But the poor RMLI...
In the British turn, the ongoing combats with the Royal Marines and the Machine Gun ended in disaster. The Royal Marines fell to the blades of the Mahdists, as did the gun crew. One unit of the skirmishing camels on the right flank finally had enough of the sustained volleys of rifle fire and fled, reducing the 'brigade' to half strength.
On the other flank, the Black Watch put in a charge which destroyed one Mahdist unit and wheeled onto the flank of the two others (already threatened by the cavalry). Behind them the guns and Y&L put fire into the Mahdist units that smashed the RMLI... Things still looked up in the air with Mhadists broken through in the centre, even with their cavalry gone... but the loss inflicted by the Black Watch also meant that the main Mahdist 'brigade' was also at half strength and the Mahdist forces were broken!
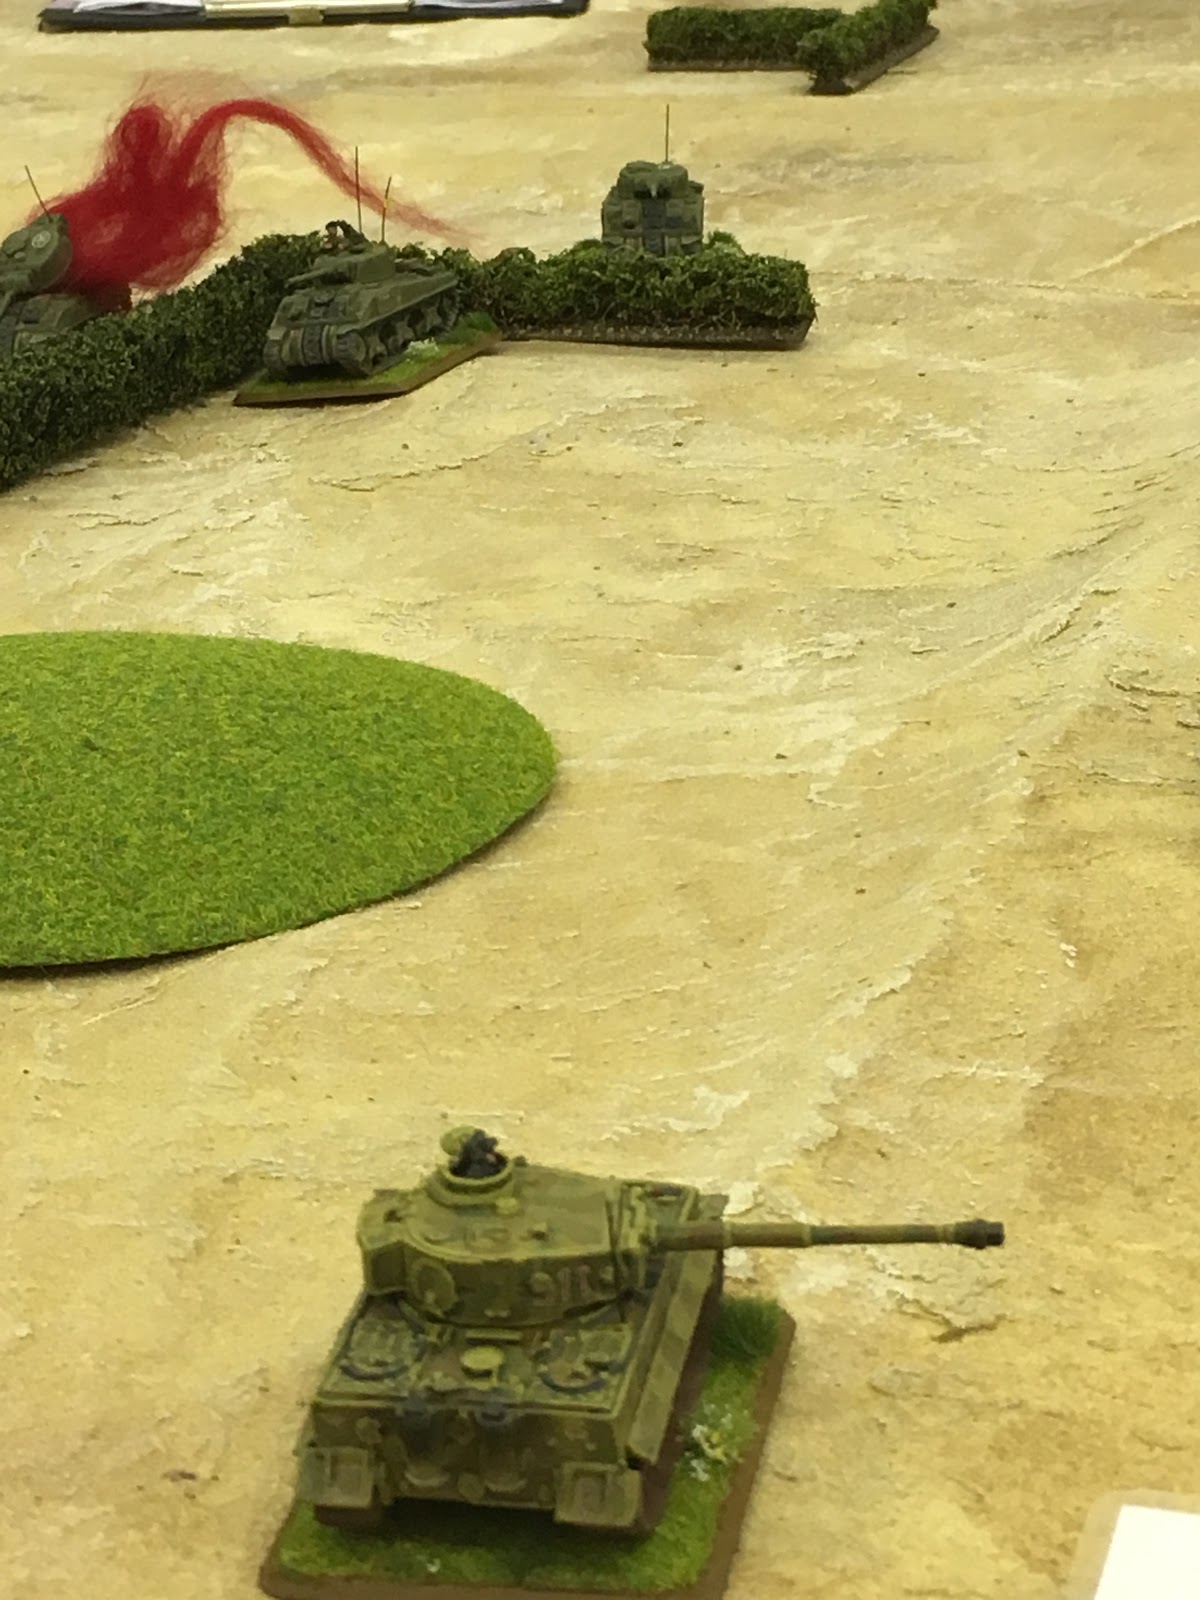
So that's it! A great looking game, Dave's collection is impressive and the table looked fantastic. Great atmosphere all round and we made good progress. Afterwards, I got a quick game of Battlegroup with Stu, just giving him an example of play:
Lots of burning tanks (and an abandoned Tiger!). The Germans lost this quite heavily, but were out pointed! They would have lost a lot sooner had we been drawing morale chits.
Thanks to the guys for the games!