Sunday, 19 January 2014

Carluke Wargames Club 11/1/14 - Battlegroup Overlord

Quiet month for me gaming and modelling wise. My girlfriend moved in with me this weekend, and between the holidays and getting the place organised the most I have managed to do is mess about with some Sherman conversions and start cleaning up my 4.2" mortar platoon.

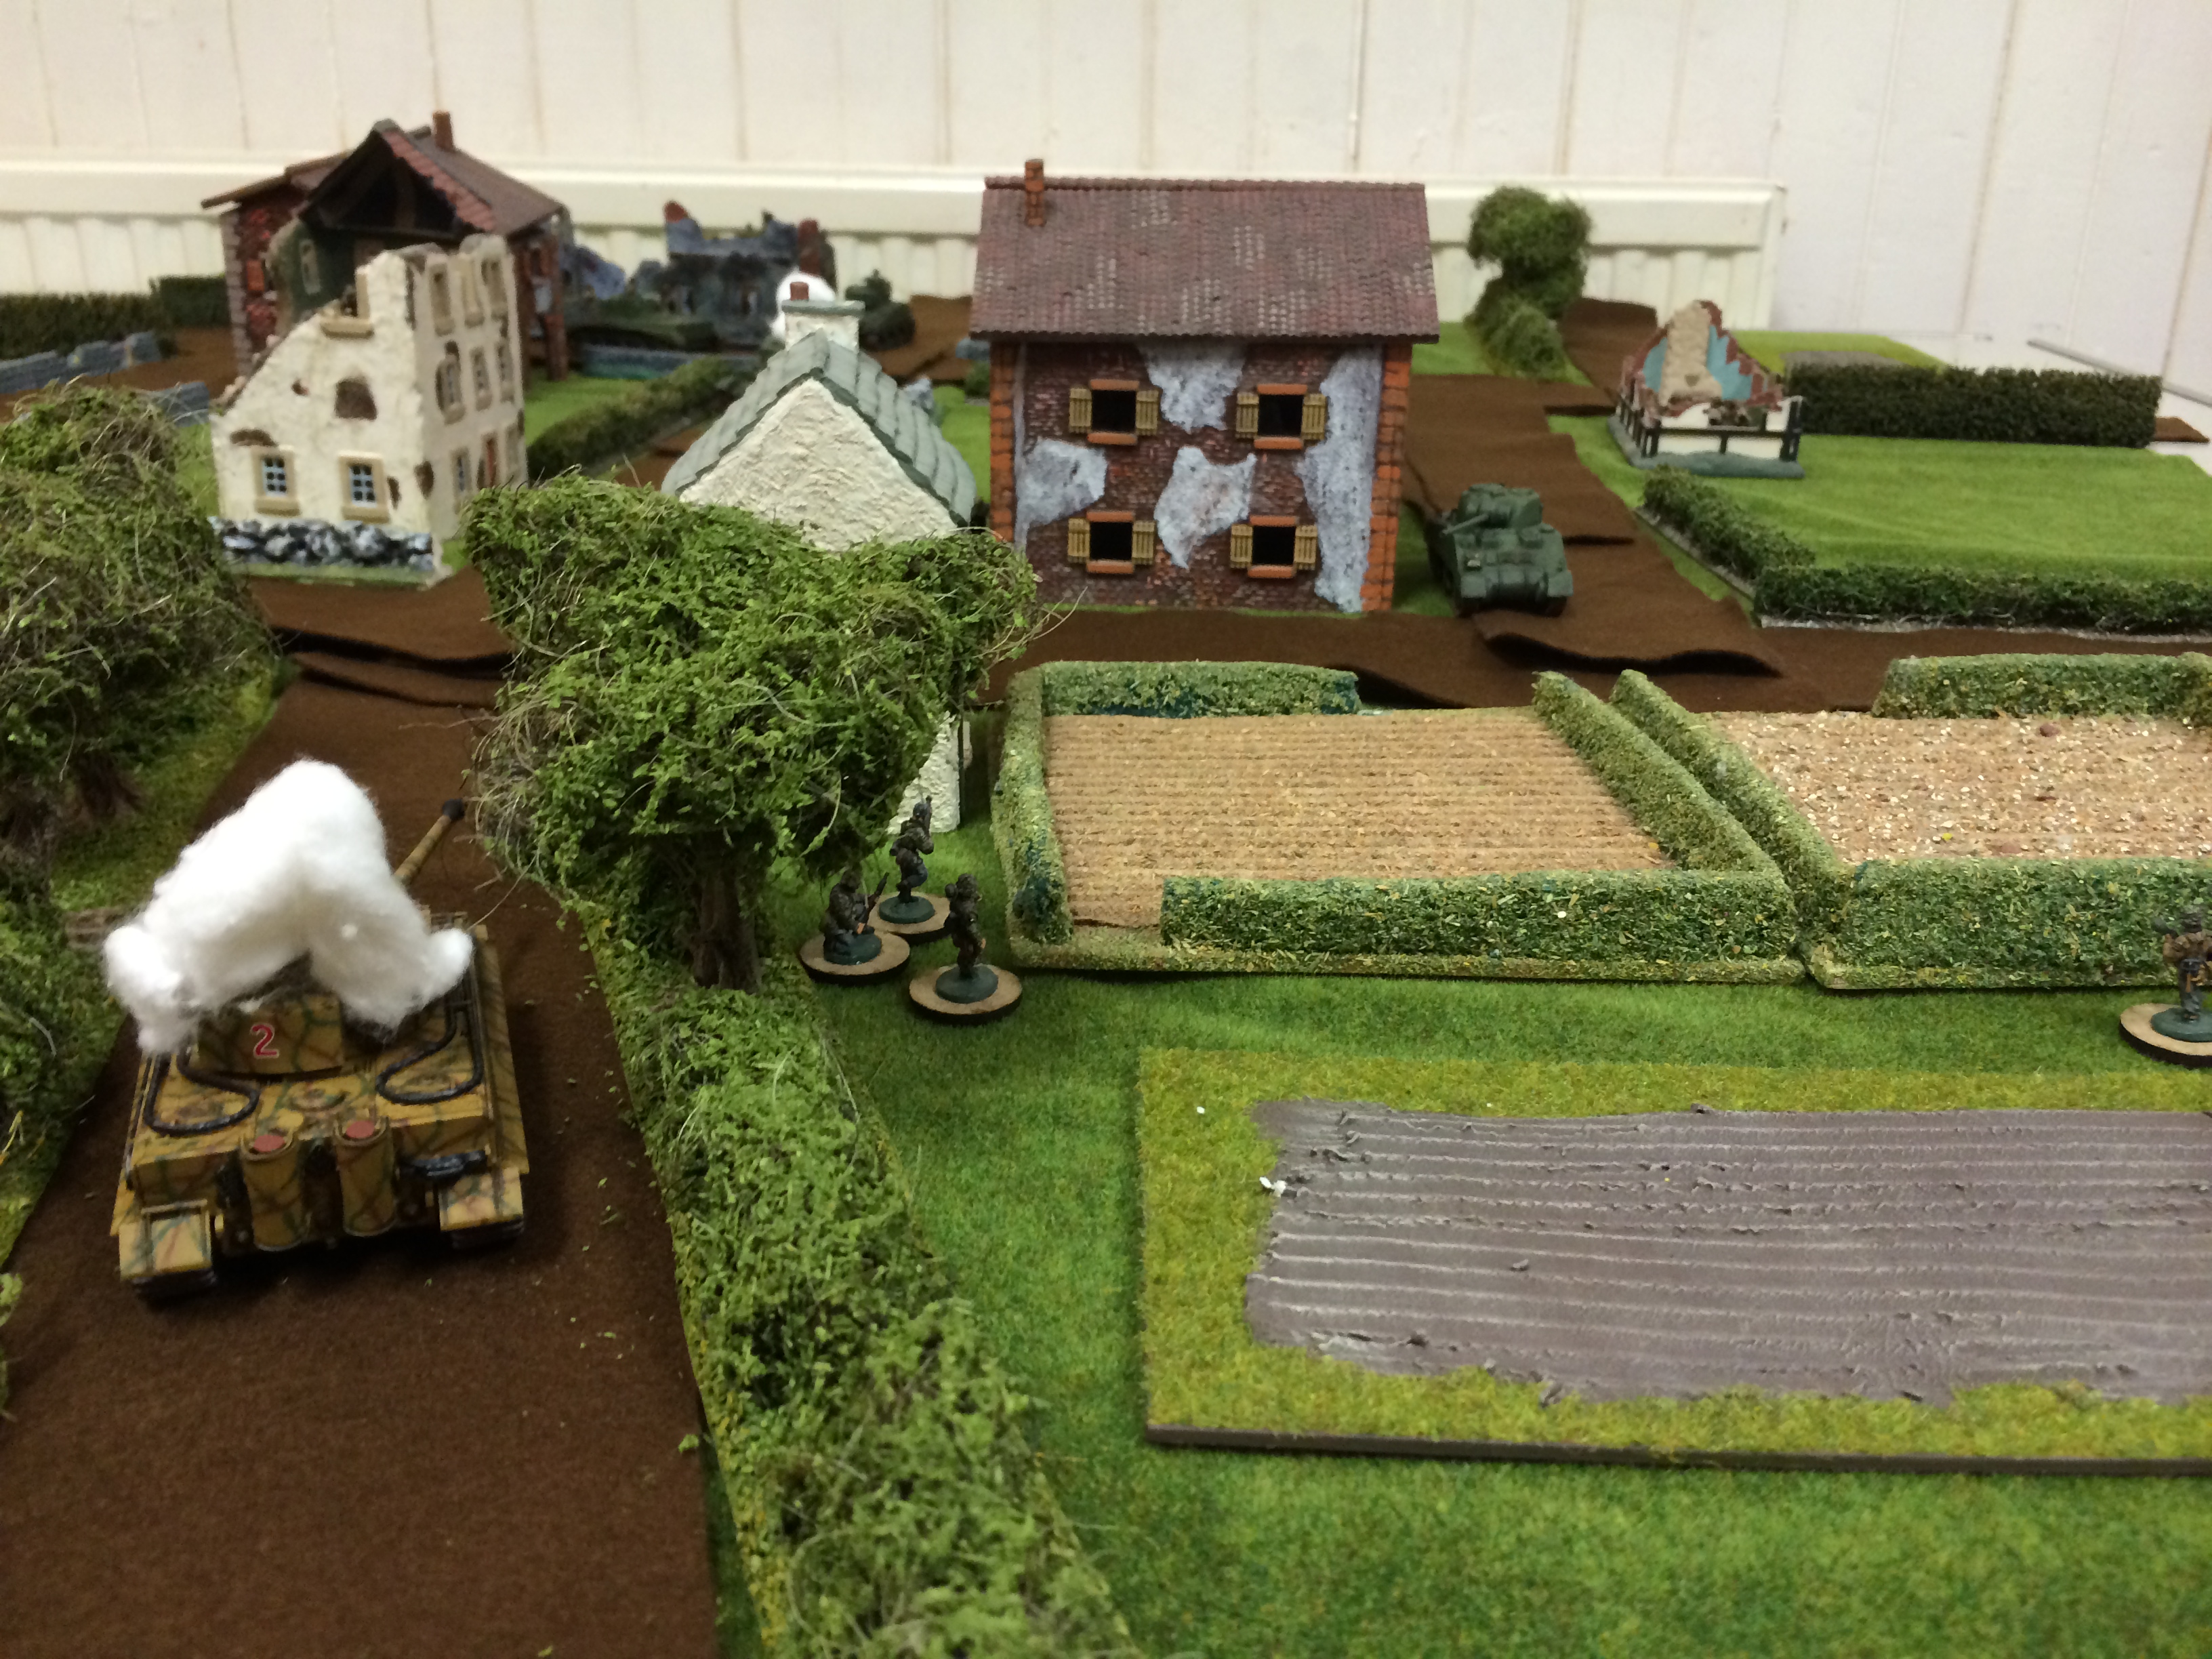
The Saturday before last I did manage to play another game of Battlegroup Overlord at the Carluke Wargames Club. Myself, Cameron and Young David played, with Cameron and myself playing the allies and YD the Germans.

This was our second game of this rules set (Cameron's first) and our first attempt at playing in 15mm using Flames of War style basing.


The table setup - YD centre stage!


I went with 2 platoons of Infantry, a Forward HQ team, a timed Typhoon strike and a Sherman Crab (first time on the table for this model).


Cameron went for a US armoured list - 2 x 75mm Shermans, and one 76mm Sherman. A infantry squad in a M3 Halftrack and 2 M7 Priests. As well as a jeep mounted HQ squad. We were using reserve rules - these are a big part of the Battlegroup rules.


Highlights of the game for me were my placement and timing of the Typhoon strike. I had written it down to hit on the 5th turn and the building on the right.


This turned out to be a good call, as the building was occupied and had some Panzer 4's nearby. In the end I my infantry got nowhere and my Sherman Crab was knocked out. Cameron's two 75mm Shermans got taken out as well, while the 76mm Sherman got engaged in a long range duel with a Panzer 4 for most of the game.


Eventually the Sherman lost, but it was an interesting fight. Really shows the difference between this game and FoW. Having to observe as part of the shooting process adds an interesting element.

The game ended with YD managing to call in a Stuka strike (a random event caused by him drawing an air strike counter on one of the few times we cause him to take casualties).


The Typhoon is standing in for the Stuka - YD was using a German list from Battlegroup Kursk. We made a bit of a mistake with the way the bomb rules work, but know that for future games. This attack was the last straw for us, and the allies attack broke from all the casualties we had taken.

The infantry casualties didn't seem to be too much of an issue in 15mm. Aided by the morale rules resulting in many of the pinned infantry squads failing morale tests and routing (lifted from the table).

All in all, another good game. Although we got smashed!

Tuesday, 24 December 2013

End of year roundup!

A relatively boring seasonal greetings post from me today. I've been looking back over my progress so far this year, and I'm feeling pretty good about the amount I've done - although at the same time I know I could have done more.

One of the things this year has been good for has been not just me learning new techniques and generally just improving my ability through practice, but also learning what I don't know. That's a good thing for me as it's only through knowing I'm doing something wrong or missing something that I can improve.

Things I know need practise or corrected:

-  painting faces (improved a bit, aided by paints I got from Paul)
-  pigments/weathering of vehicles
-  thick paint. I think I need to start making more of an effort with layering. Vallejo paints are pretty thin, but I don't think I really use it the way it should be used (multiple thin layers).

I've managed to keep the blog posts going for nearly nine months, which I think is pretty positive. The feedback from the community has really been great and I appreciate it  massively, so thanks guys!

In addition to the painting stuff I need to learn, there are a few things I need to improve on for my painting and pictures. Lighting is a big one, I hope to pick up a decent fluorescent light this year. I also need to sort out army transport. Magnetic bases seem to be the way to go, and I had ordered some through Knightly Gaming, but apparently Battlefront and Gale Force 9 are having supply issues.

So, up to this point what have I done?

-  one full infantry company (three platoons)
-  MG platoon with transport
-  3" Mortar platoon with transport
-  4 gun 25pdr battery with transport and command teams (including a couple of mini dioramas)
-  4 defrocked priests
-  4 gun 6pdr platoon with transport
-  3 Sherman I's and 1 Sherman Firefly
-  4 gun 17pdr battery
-  pioneer platoon with transport
-  Hawker Typhoon air support
-  2 Sherman Crab Flail tanks

In the painting pile, base coated and ready to go:

-  4 Sherman I's and 1 Sherman Firefly
-  3 Daimler armoured cars
-  2 Humber LRC's
-  5 M5 half tracks
-  2 6pdr anti tank guns
-  2 Loyds carriers
-  4 Bofors 40mm anti aircraft guns
-  2 AVRE Churchills
-  2 defrocked priests

In the 'bloody hell, I've bought more stuff' pile:

-  2 Sherman V
-  1 Sherman I
-  1 Sherman ARV
-  3 Jeeps (still to be paid for and collected)
-  3 Humber armoured cars (still to be paid for and collected)
-  1 Sherman Firefly
-  4.2" Heavy Mortar platoon
-  3 Daimler dingos (on order)
-  12 (!!!) universal carriers
-  Sherman II's (currently under conversion to Sherman I Hybrids)

All these should allow me to field a armoured list as well as my infantry and mech infantry. I also aim to have the the base units avail to make a recce company list.

So a lot of work done, a lot of work still to do. Thanks everyone for their support and helpful comments over the year. I hope you all have a great festive season, and a happy and productive 2014 to us all!


Saturday, 14 December 2013

Carluke Wargames Club 14/12/13 - Battlegroup Overlord trial game (20mm Battlegroup Overlord Review)

Earlier in the year I had picked up a copy of the Battlegroup series of rules from The Plastic Soldier Company.  I was interested in this set of rules as they are designed for 15 - 20mm, and allow for the use of Flames of War based infantry. I have a copy of the small rule book and the larger hardback Battlegroup Overlord campaign book.

Me and YD have talked about trying a game of this and last Saturday decided to give it a shot. Given that we would be learning the rules and that to start off with using individually based infantry would probably help, we decided to use some of YD's collection of 20mm figures.

So, what did we think?

Wow. A really really nice gaming system. Quick, simple but did exactly what we thought things should do. Granular with out being overcomplicated and we both picked it up really quickly. The orders system really forces you to make choices each turn, pinning adds a whole new element to the game and ammo tracking on the tanks ammo added something as well.


Just to get a feel for the game, we went for a villers bocage style game. I had 2 Cromwell platoons (2 x Cromwells and 1 x Firefly) in the town, all starting the game as pinned (dismounted). I also had a platoon of infantry (2 squads and a vickers MG team) in the town.

YD had a Tiger and a platoon of German Infantry (3 squads, command squad and 3 MG teams).

Normally with the Battlegroup games your army selection details not just your unit points but also the Battle Rating each unit has. You total this Battle Rating (BR) up and keep track of it during the game. In our case we decided we should both start with a BR of 15 since it was a test game - although mine should have been around 29 (YD's was about right).


YD started with 2 officers - one Infantry commander and the Tiger commander. I started with 3 - one Infantry and two tank platoon leaders.

Each turn starts with a random number of orders being generated. In this sized game we went for 1 D6 per turn. You also get +1 order per officer you have active (not dead). Orders are pretty simple - the main ones being Move and fire, Fire and move, double time (move twice) and Open fire (fire twice). There are also options for ambush fire (fire in the enemy turn) or reactionary moves (move in opponents turn). Senior officers (in this case our infantry officers) can also issue an order that allows you to try and unpin one unit in your actual turn - rather than at the end of the turn. This involves drawing a random morale counter (increasing your force tally for the game) and then passing morale check for the pinned unit.


Morale (or stress) counters are drawn whenever a unit is pinned or destroyed. In addition a destroyed unit's BR is taken away from your BR rating. This means as you lose units your morale (stress) total goes up and your BR goes down. When your morale tally is higher than your BR, you lose. The stress tally is kept secret from the other player, and some of the counters you draw have special effects. Like mine strikes on enemy vehicles, friendly air support turning up or making a enemy unit short on ammo.

You also get morale chits when your enemy captures a objective, uses a flamethrower or you are subject to an air attack. You can also choose to draw a chit at the end of your turn in order to unpin 1D6 units. You can draw more than one chit to increase the number of dice.


The number of orders being random really makes you have to think about what your doing. Sometimes we had more orders than units to move, other times we were desperate for orders and rolled low.

The game saw YD advancing and me sitting still on ambush and unpinning some of my tanks. YD managed to knock out one Cromwell before one of my Fireflys took out the tiger.


This actually happened 3 times before my Firefly died... we decided just to rewind and keep playing as it was a test game. Funnily enough, the numbers and the dice rolls seems right. that might seem odd given the number of times the Tiger died - but we both felt the stats and the number needed on the dice roll were correct. They were what we, as gamers, expected.


We also brought a Panther on to help the Germans, as well as a mortar team to test out the artillery rules.

Ignoring the Tigers death allowed it to get pinged a lot of times with 75mm shells and kill my first Firefly - while it slowly killed Cromwells. Eventually my 2nd Firefly unpinned and killed the Tiger.

One of YD's infantry squads with 2 sub machine guns and a rifle got into a firefight with a Bren team. The rifleman was the only German in range and he proceeded to knock out the whole Bren team with some good rolls and poor cover saves. In the game there are two types of fire. Direct fire and area fire. Direct fire requires you to pass an observation test to spot the enemy and then rolls to hit based on distance, cover etc.

Area fire is more abstract but covers suppressive fire. It rarely causes wounds but often pins the squad that's being shot at. A very interesting mechanic and useful in allowing units to advance where ambush fire is a danger. Direct fire only causes pinning on a morale check, whereas area fire causes pinning on a failed cover check. A roll of 1 on the cover check sees a casualty inflicted as well.


As things worked out I reached my BR limit before YD did, so he technically won. However we kept playing for a bit just to try the infantry assault mechanics (very simple and satisfying). The length of the game saw many of my surviving tanks out of AP ammo while YD's Panther was out of HE. It became apparent that the supply trucks and the likes in the rules would actually be useful. The rules also include stuff like wire teams, ambulances, dispatch riders, Forward Air controllers, etc.

All in all this was one of the best (if not the best) WW2 game I have played. Simpler and yet more accurate and tactical than Flames of War, more granular and realistic than Rapid Fire. I can see me playing a lot more of this game, hopefully using my existing FoW model collection. I think YD liked it a lot and hopefully we can let some of the other guys get a shot (and convert them!).

I would give this game a 9 out of 10 (the rulebook and army book were a bit oddly laid out). Well worth a shot for anyone with a 15mm collection. Turns played really quickly and we both picked it up really quickly.